
Oh, cheesecake! Just the word brings a smile to my face. For years, I thought making cheesecake was this super fancy, complicated thing reserved for professional bakers. But then I discovered the magic of no-bake recipes, and my world changed! This Tasty Greek Yogurt No Bake Cheesecake is my absolute favorite for when I want something utterly delicious, creamy, and impressive, but without all the fuss of turning on the oven. It’s become my go-to for potlucks, family gatherings, or just a sweet treat on a warm evening.
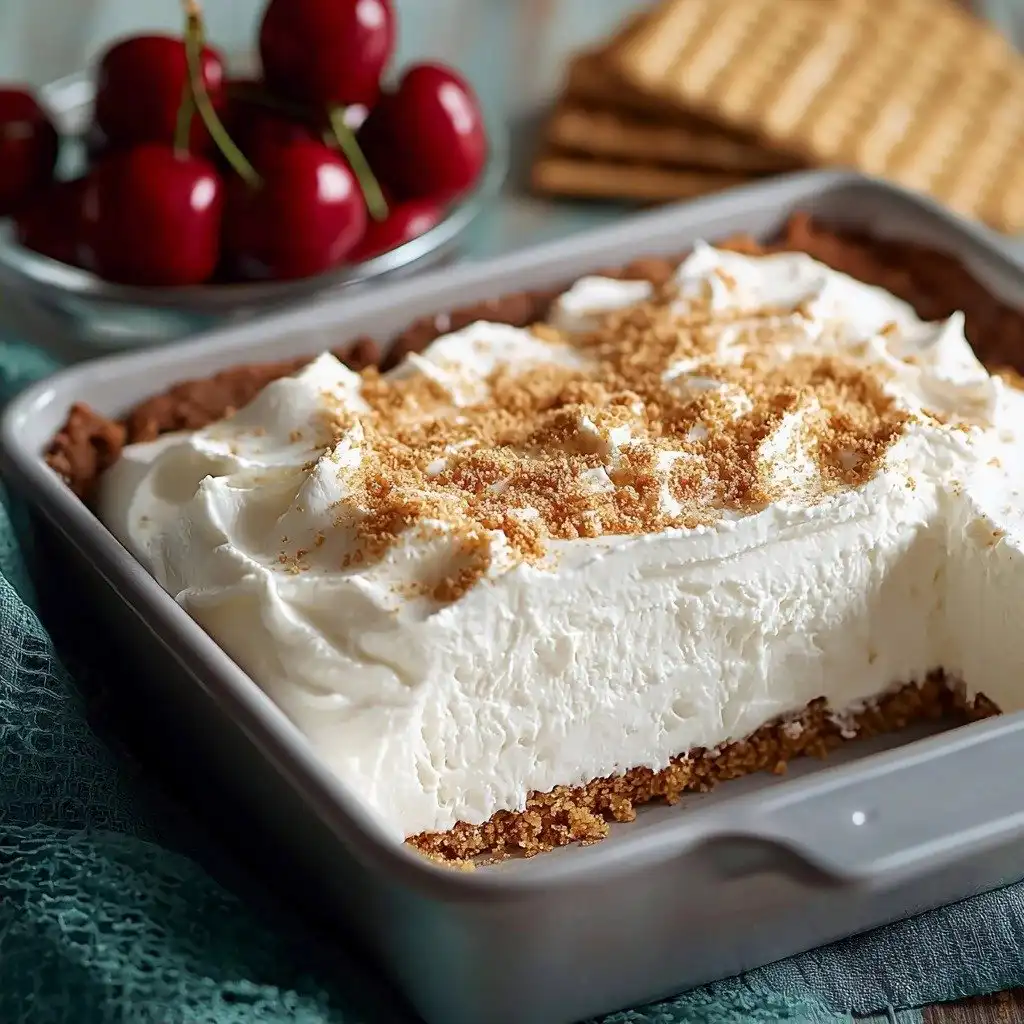
Why You’ll Love This Tasty Greek Yogurt No Bake Cheesecake
- It’s incredibly easy! No baking, no water baths, just simple mixing and chilling.
- The texture is dreamy – super creamy and smooth, with a perfect graham cracker crunch.
- It’s wonderfully light and refreshing, thanks to the Greek yogurt and a hint of lemon.
- Perfect for any occasion, from a casual weeknight dessert to a special celebration.
Ingredients You’ll Need
- Graham cracker crumbs: I always reach for Honey Maid! Their honey flavor really shines through and makes the crust extra special.
- Coconut oil: This is what binds our crust together. Make sure it’s melted and then cooled a bit so it doesn’t cook the crumbs.
- Cream cheese: The star of our filling! Softened cream cheese is key for a super smooth, lump-free filling.
- Greek yogurt: I swear by Fage 5% for its amazing thick and creamy texture. It adds that lovely tang and makes the cheesecake feel a little lighter.
- Honey: This gives our cheesecake a beautiful, subtle sweetness and a touch of warmth.
- Lemon juice: Don’t skip this! It brightens up all the flavors and balances the richness.
- Vanilla: A classic flavor enhancer that makes everything taste better.
How to Make Tasty Greek Yogurt No Bake Cheesecake Step by Step
First things first, let’s get that crust ready! Grab your graham cracker crumbs, melted coconut oil (make sure it’s cooled!), and sugar. Toss them all into a bowl and stir, stir, stir until it looks like wet sand. You want to make sure there are no dry spots. Then, press this delicious mixture firmly and evenly into your springform pan or baking dish. I like to use the bottom of a measuring cup to really get it compact – this is your sturdy foundation!
Now for the creamy filling! In a separate bowl, take your softened cream cheese and give it a good whisk for about 30 seconds to break up any lumps. This is where the magic happens for a truly smooth cheesecake. Then, gradually add your Greek yogurt, honey, lemon juice, vanilla, and a pinch of salt. Whisk everything together until it’s completely smooth and wonderfully combined. Don’t worry if it looks a little runny at this stage; the chilling time will do its job!
Carefully pour this luscious filling over your prepared graham cracker crust. Use a spatula to smooth the top so it’s nice and even. Cover the pan with plastic wrap and pop it into the fridge. This part is crucial! You’ll want to chill it for at least 2 hours, but honestly, I find that letting it chill overnight gives you the best, most perfectly set texture and allows all those flavors to truly meld together. Once it’s set, you can gently run a thin knife around the edge to loosen it, remove the springform ring, and get ready to decorate!
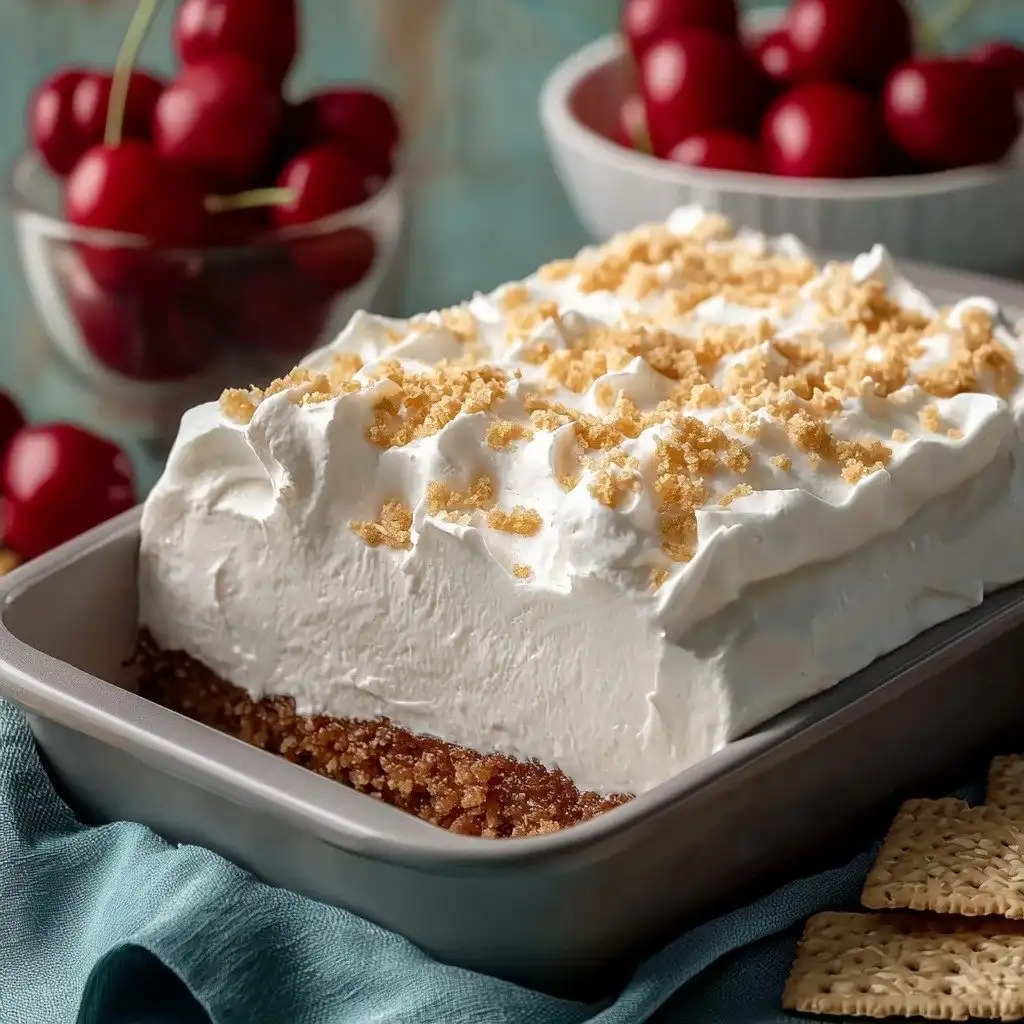
My Top Tips for Success
- I always make sure my cream cheese is at room temperature. It really does make a huge difference in getting that perfectly smooth filling.
- In my experience, chilling overnight is the secret to a beautifully set cheesecake with deep flavors. Plan ahead if you can!
- Trust me on this one: use the bottom of a measuring cup to press the crust down firmly. It prevents crumbling!
- For super clean slices, wipe your knife with a warm, damp cloth between each cut. It makes your cheesecake look professional!
- Don’t be shy with the toppings! Whipped cream and maraschino cherries are classic for a reason.
Common Mistakes to Avoid
- Not softening cream cheese: This leads to lumpy filling. Always let it sit out for about an hour before you start mixing.
- Not chilling long enough: A short chill time can result in a runny cheesecake. Give it at least 2 hours, but overnight is best for a perfect set.
- Overmixing the filling: While you want it smooth, don’t go crazy. Mix until just combined to keep it light and airy.
- Not compacting the crust: A loose crust will crumble when you try to serve it. Press it down really well!
How to Store Tasty Greek Yogurt No Bake Cheesecake
- Refrigerator: Store covered tightly with plastic wrap for up to 3-4 days.
- Freezer: You can freeze individual slices (without the whipped cream and cherries) wrapped in plastic wrap and then foil for up to 1 month. Thaw in the refrigerator before serving.
Frequently Asked Questions
Can I use low-fat cream cheese or Greek yogurt?
While you can, I highly recommend using full-fat versions for the best flavor and creamy texture. Low-fat options might result in a less rich and less firm cheesecake.
Do I have to use coconut oil for the crust?
You can substitute melted unsalted butter for the coconut oil if you prefer. The flavor will be slightly different, but it will still bind the crust effectively.
Can I make this cheesecake ahead of time for a party?
Absolutely! This cheesecake is perfect for making ahead. In fact, chilling it overnight allows the flavors to deepen and the texture to set beautifully.
What other toppings can I use?
Fresh berries, a drizzle of chocolate sauce, lemon zest, or even a fruit compote would all be delicious. Get creative with your favorites!
My cheesecake filling seems a bit thin, is that okay?
Yes, that’s perfectly normal before chilling. The refrigeration process is what allows the cream cheese and Greek yogurt to firm up and create that classic cheesecake texture.
I hope you love making and sharing this Tasty Greek Yogurt No Bake Cheesecake as much as I do! It’s such a simple way to bring a little bit of dessert magic into your life. If you try it, please let me know how it turns out – I’d love to hear from you!
PrintTasty Greek Yogurt No Bake Cheesecake
A deliciously creamy and refreshing no-bake cheesecake featuring a graham cracker crust and a light Greek yogurt filling.
- Prep Time: 20
- Total Time: 140
- Yield: 8 servings
- Category: Dessert
- Method: No-Bake
- Cuisine: American
- Diet: Vegetarian
Ingredients
- 1.25 cup graham cracker crumbs
- 1/4 cup coconut oil (melted and cooled to room temperature)
- 2 tbsp sugar
- 8 oz cream cheese (softened to room temperature)
- 3/4 cup greek yogurt
- 4 tbsp honey
- 1 tbsp lemon juice
- 1.25 tsp vanilla
- Pinch of salt
- whipped cream
- maraschino cherries
Instructions
- Combine the graham cracker crumbs, melted coconut oil, and sugar in a bowl.
- Stir until the mixture resembles wet sand with no dry pockets.
- Press this mixture firmly and evenly into the bottom of a 9-inch springform pan or 8×8 inch baking dish.
- Use the bottom of a measuring cup to create an even, compact layer.
- In a separate bowl, whisk the softened cream cheese alone for 30 seconds to break up any lumps.
- Add the greek yogurt, honey, lemon juice, vanilla, and salt to the cream cheese.
- Whisk until completely smooth and well combined.
- Pour the creamy filling mixture evenly over the graham cracker crust.
- Smooth the top with a spatula for an even surface.
- Cover the pan with plastic wrap.
- Refrigerate for at least 2 hours, or preferably overnight, until the filling is set and chilled through.
- Remove the cheesecake from the refrigerator.
- Carefully run a thin knife around the edges to loosen it from the pan.
- Remove the springform ring (if using).
- Top with a generous dollop of whipped cream.
- Garnish with maraschino cherries.
- Slice and serve immediately.
- Wipe your knife between cuts with a warm, damp cloth for clean slices.
Notes
Ensure cream cheese is at room temperature for a smooth filling.
Chilling overnight gives the best texture and flavor.
Press the crust down firmly with a measuring cup for a sturdy base.
Wipe your knife with a warm, damp cloth between slices for a clean cut.


