
The leaves are starting to turn, there’s a crispness in the air, and suddenly, all I want to do is bake (or, in this case, *not* bake!) with pumpkin. It’s such a comforting flavor, isn’t it? For years, I struggled to find a healthy snack that satisfied my pumpkin pie cravings without all the fuss. That’s why these No Bake Healthy Pumpkin Pie Energy Balls have become an absolute lifesaver in my kitchen. They’re super easy, packed with flavor, and make me feel like I’m indulging without any guilt!
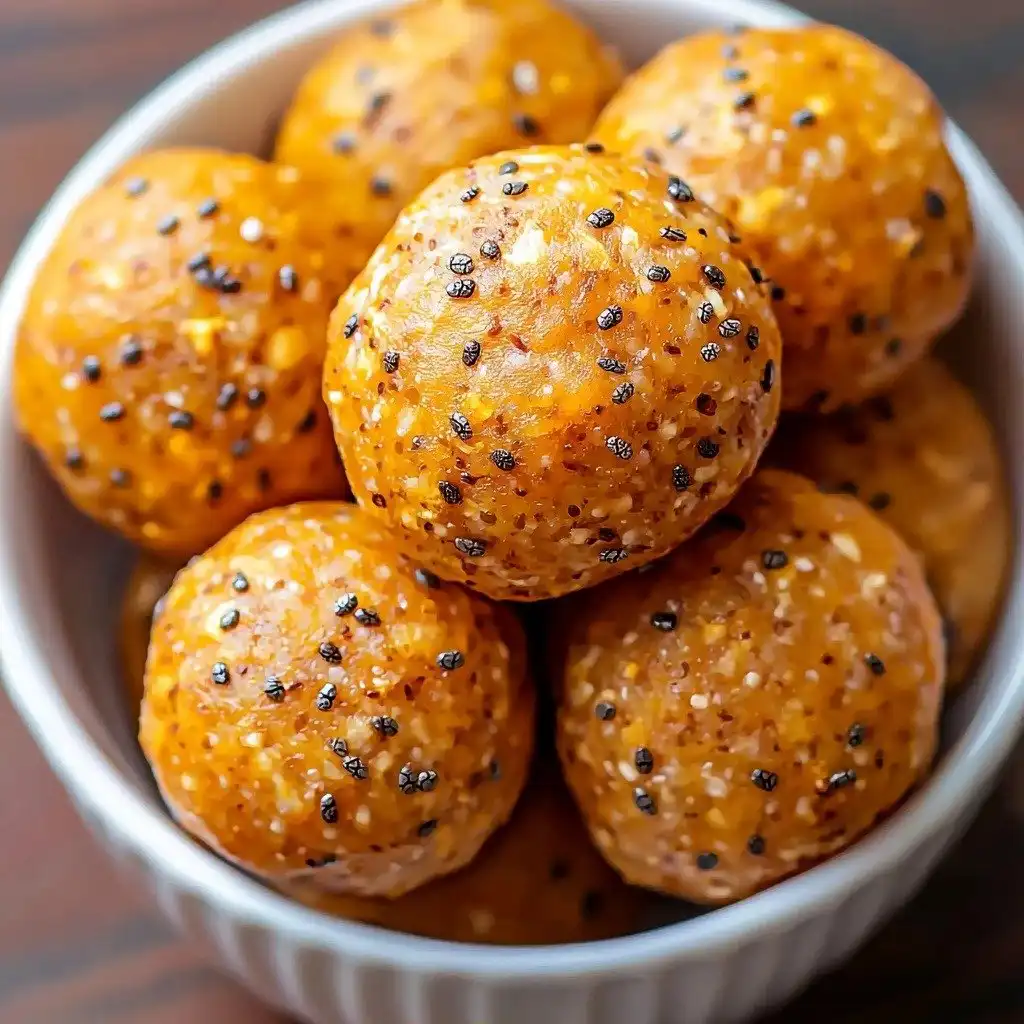
Why You’ll Love This No Bake Healthy Pumpkin Pie Energy Balls
- They taste just like a bite of pumpkin pie, but they’re secretly good for you!
- No oven required – seriously, just mix, roll, and chill. Perfect for busy days.
- The texture is wonderfully soft and chewy, with a hint of spice that’s just right.
- They’re a fantastic grab-and-go snack or a quick energy boost any time of day.
Ingredients You’ll Need
- Paleo Flour: This gives our energy balls a bit of structure without being heavy. I love Bob’s Red Mill Paleo Flour, but almond or coconut flour would totally work if that’s what you have!
- Vanilla Protein Powder: Not only does it add a boost of protein, but it also brings a lovely vanilla undertone that complements the pumpkin spice.
- Pumpkin Pie Spice: This is where all that amazing fall flavor comes from! Don’t skimp on it.
- Cashew Butter: This is the creamy, binding base that holds everything together. I use Betsy’s Best, but feel free to use your favorite nut butter – almond or peanut butter would be delicious too!
- Maple Syrup: Our natural sweetener. You could also use honey if you prefer that flavor.
- Pumpkin Puree: Make sure it’s 100% pumpkin puree, not pumpkin pie filling! This adds moisture and that iconic pumpkin flavor.
How to Make No Bake Healthy Pumpkin Pie Energy Balls Step by Step
Making these energy balls is so simple, you’ll wonder why you haven’t tried them before! First, grab a large bowl and let’s get our dry ingredients ready. You’re going to combine the paleo flour, vanilla protein powder, and that wonderful pumpkin pie spice. Give it a good whisk to make sure everything is evenly distributed – this is where the magic of those warm spices begins!
Next up, in a separate, microwave-safe bowl, we’ll combine the cashew butter, maple syrup, and pumpkin puree. Pop this mixture into the microwave for about 30 seconds to a minute. You just want it warm enough so it’s super easy to stir and combine into a smooth, creamy consistency. Don’t worry if it looks a little runny at first; it will firm up!
Now for the fun part! Pour that warm, creamy cashew butter mixture into your bowl of dry ingredients. Stir it all together until everything is well combined and forms a uniform dough. Once it’s mixed, place the bowl in the freezer for about 10 minutes. This quick chill helps the dough firm up just enough so it’s easy to handle and roll into perfect little balls.
My Top Tips for Success
- I always make sure my pumpkin puree is 100% pure pumpkin, not pie filling, for the best flavor and texture.
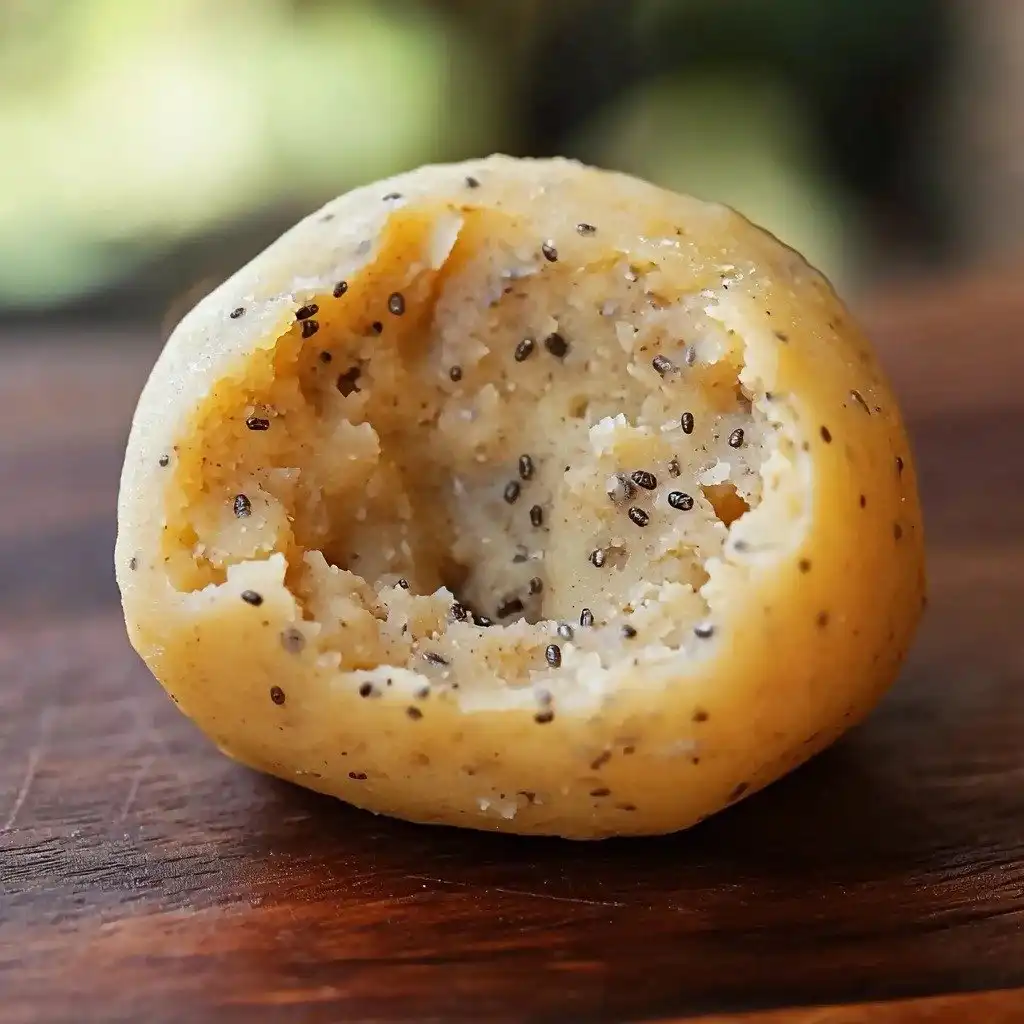
- In my experience, chilling the dough for at least 10 minutes in the freezer is crucial for easy rolling. Don’t skip this step!
- If your dough feels too sticky after freezing, try dusting your hands lightly with a little extra paleo flour before rolling.
- Trust me on this one: use parchment paper on your baking sheet. It makes cleanup a breeze and prevents sticking.
- For consistent sizes, I like to use a small cookie scoop before rolling each ball.
Common Mistakes to Avoid
- Using pumpkin pie filling instead of pumpkin puree: This will make your energy balls too sweet and alter the texture significantly because pie filling has added sugar and spices. Always use 100% pure pumpkin.
- Not chilling the dough enough: If the dough is too warm, it will be sticky and hard to roll. Freeze it for the recommended 10 minutes, or even a bit longer if your kitchen is warm.
- Over-microwaving the wet ingredients: You just want to warm them enough to combine easily, not cook them. Too much heat can make the nut butter seize up.
- Skipping the parchment paper: The balls can stick to a bare baking sheet, making them difficult to remove after chilling.
How to Store No Bake Healthy Pumpkin Pie Energy Balls
- Refrigeration: Store in an airtight container in the refrigerator for up to 1 week.
- Freezing: Place the fully chilled balls in a single layer on a parchment-lined baking sheet and freeze until solid (about 1-2 hours). Transfer to a freezer-safe bag or container and store for up to 2-3 months. Thaw in the refrigerator or enjoy straight from the freezer!
Frequently Asked Questions
Can I use a different nut butter?
Yes, absolutely! While cashew butter gives a really creamy texture, almond butter or even peanut butter would also work wonderfully. Just make sure it’s a natural, drippy nut butter.
What if I don’t have paleo flour?
You can substitute the paleo flour with almond flour or coconut flour. Keep in mind that coconut flour is much more absorbent, so you might need slightly less if using it.
Are these vegan?
Yes, as long as you use maple syrup as your sweetener, these No Bake Healthy Pumpkin Pie Energy Balls are completely vegan. Honey is not vegan, so avoid that if you want to keep them plant-based.
Can I add chocolate chips?
Of course! Mini chocolate chips would be a delicious addition to these energy balls. Stir them into the dough after you’ve combined all the ingredients.
How long do they take to set up?
The initial freeze for 10 minutes is just to make them easier to roll. They will be fully set and best to eat after refrigerating for at least 30 minutes, or once they are completely chilled.
I hope these No Bake Healthy Pumpkin Pie Energy Balls bring a little bit of fall joy and healthy goodness to your snacking routine. They’re truly one of my favorite easy treats! If you give them a try, I’d absolutely love to hear what you think in the comments below!
PrintNo Bake Healthy Pumpkin Pie Energy Balls

These delightful No Bake Healthy Pumpkin Pie Energy Balls are a simple, wholesome snack bursting with fall flavors and a perfect chewy texture.
- Prep Time: 15
- Total Time: 25
- Yield: 20 balls
- Category: Snack
- Method: No-Bake
- Cuisine: American
- Diet: Vegetarian
Ingredients
- 2 tablespoons paleo flour
- 1 tablespoon vanilla protein powder
- 1 tablespoon pumpkin pie spice
- 1 cup cashew butter
- 1 tablespoon maple syrup
- 2 tablespoons pumpkin puree
Instructions
- In a large bowl, combine paleo flour, vanilla protein powder, and pumpkin pie spice.
- Stir well until combined.
- In a separate microwave-safe bowl, combine cashew butter, maple syrup, and pumpkin puree.
- Microwave this mixture for 30 seconds to 1 minute.
- Heat until the mixture is easy to stir and combine.
- Pour the cashew butter mixture into the dry ingredient mixture.
- Stir thoroughly to combine all ingredients into a dough.
- Place the dough in the freezer for about 10 minutes.
- Line a baking sheet with parchment paper.
- Roll the chilled dough into approximately 20 balls.
- Arrange the balls on the prepared baking sheet.
- Refrigerate the energy balls until fully chilled.
- Store the chilled energy balls in an airtight container in the refrigerator.
Notes
Ensure you use 100% pure pumpkin puree, not pumpkin pie filling.
Chilling the dough in the freezer for 10 minutes makes it much easier to roll.
If dough is too sticky, lightly dust hands with extra paleo flour.
Parchment paper prevents sticking and makes cleanup a breeze.
For consistent sizes, use a small cookie scoop before rolling each ball.


