
Oh, this recipe brings back such happy memories! I first made this Easy No Bake Lemon Cheesecake for a summer potluck, and it was an instant hit. Everyone kept asking for the recipe! It’s bright, it’s creamy, and honestly, it feels like a little ray of sunshine in dessert form. It’s become my go-to when I want something impressive but super simple to pull together. You’re going to love how easy and delicious it is!
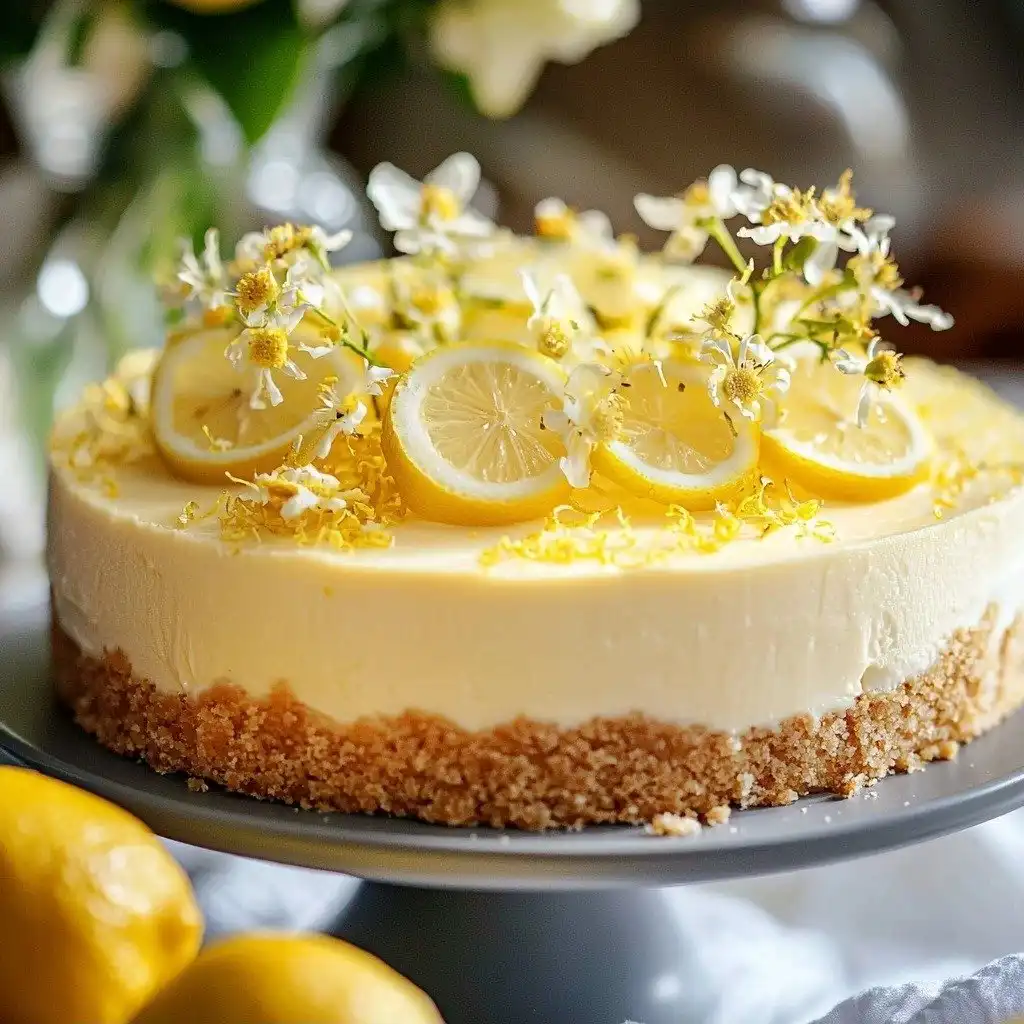
Why You’ll Love This Easy No Bake Lemon Cheesecake
- Creamy Dreamy Texture: It’s incredibly smooth and rich, melting in your mouth with every bite.
- Zesty Lemon Flavor: That fresh lemon juice and zest really shine through, making it wonderfully bright and refreshing.
- Truly No-Bake: No oven needed! Perfect for hot summer days or when you just don’t want to turn on the heat.
- Simple to Make: With just a few steps, you’ll have a show-stopping dessert that looks and tastes like you fussed for hours.
Ingredients You’ll Need
- Graham Cracker Crumbs: These form the perfect crunchy base. You can buy pre-made crumbs or crush whole graham crackers yourself.
- Unsalted Butter: Melting the butter helps bind the crust together. Unsalted is best so you can control the saltiness.
- Cream Cheese: Make sure it’s full-fat and softened to room temperature. This is key for a super smooth, lump-free filling.
- Granulated Sugar: Just enough to sweeten the filling without overpowering the lemon.
- Heavy Cream: Whipping this to soft peaks adds that light, airy texture to the cheesecake. Don’t use anything less than heavy cream!
- Lemons: You’ll need both the juice and the zest for that vibrant, fresh lemon flavor. Don’t skip the zest – it holds so much of the essential lemon oil!
How to Make Easy No Bake Lemon Cheesecake Step by Step
First things first, let’s get that crust ready! Grab a medium bowl and toss in your graham cracker crumbs. Pour in the melted butter and stir it all together until every crumb is coated. It should look like wet sand. Now, press that mixture firmly into the bottom of your 9-inch springform pan. Use the back of a spoon or your fingers to get it nice and even. Pop that pan into the fridge while we make the magic happen with the filling.
Now for the star of the show – the filling! In a large bowl, beat your softened cream cheese until it’s super smooth and creamy. No lumps allowed! Gradually add your granulated sugar, beating well after each addition until it’s fully incorporated. This is where the sweetness comes in. In a separate bowl, whip your heavy cream until you have lovely soft peaks. Now, gently fold that whipped cream into your cream cheese mixture, along with the fresh lemon juice and zest. Be gentle here; we want to keep all that beautiful air in the whipped cream!
Once your filling is smooth and well combined, pour it right over your chilled crust in the springform pan. Use a spatula to smooth out the top – make it look pretty! Now comes the hardest part: waiting. You need to refrigerate your cheesecake for at least 6 hours, but honestly, overnight is even better. This allows it to set up perfectly, so it slices beautifully. Trust me, it’s worth the wait!
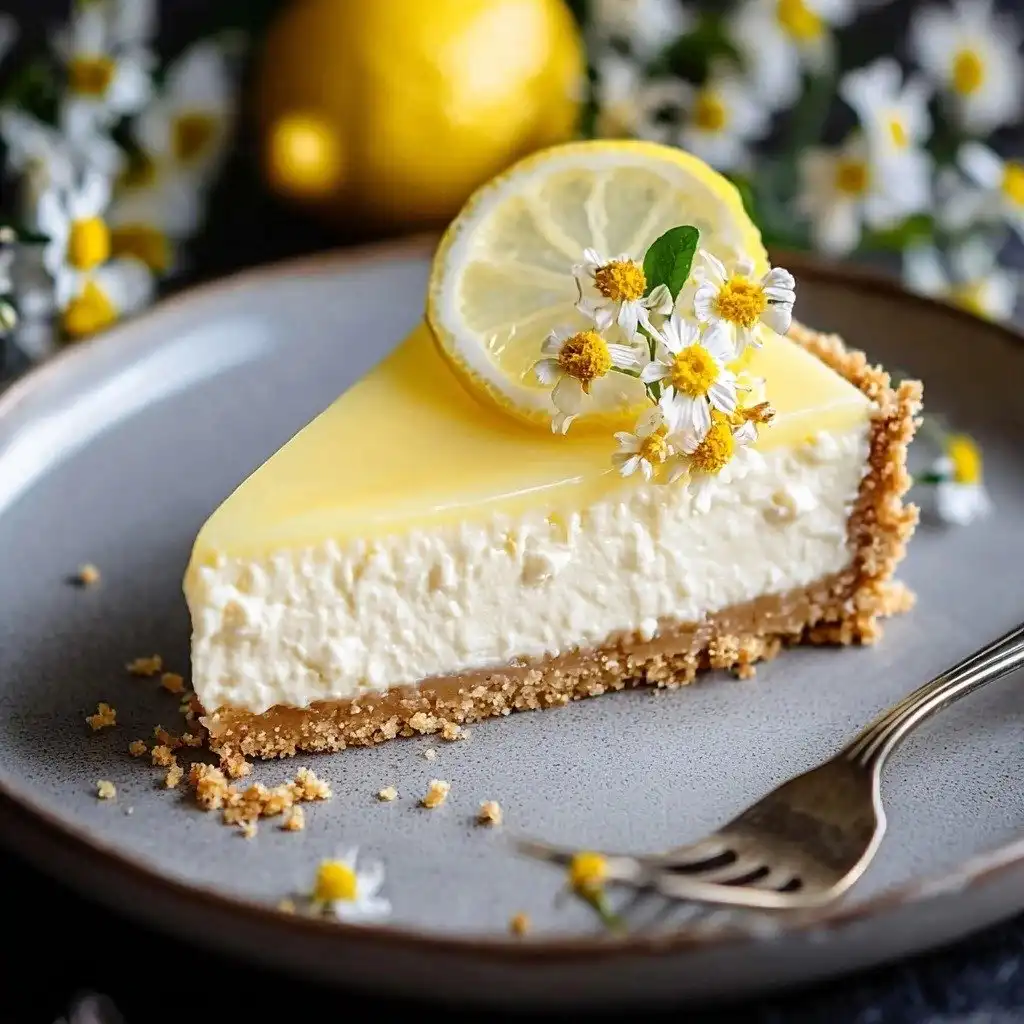
My Top Tips for Success
- Room Temperature Cream Cheese is a Must: I always take my cream cheese out at least an hour before I start. It makes beating it so much easier and prevents lumps.
- Don’t Overmix the Whipped Cream: Whip it until it just reaches soft peaks. If you overmix, it can become grainy when folded into the cream cheese.
- Zest Before Juicing: Trust me on this one! It’s much easier to zest a whole lemon than a juiced one.
- Chill, Chill, Chill: Don’t rush the chilling time. This is crucial for the cheesecake to firm up properly and hold its shape. Overnight is ideal!
- Warm Your Knife for Easy Slicing: Before removing the cheesecake from the pan, run a thin knife around the edge under hot water. Wipe it dry, then gently go around the pan. It helps release it cleanly.
Common Mistakes to Avoid
- Using Cold Cream Cheese: This leads to lumpy filling. Always soften your cream cheese to room temperature first!
- Not Chilling Long Enough: If you cut into your cheesecake too soon, it will be too soft and won’t hold its shape. Patience is key!
- Overmixing the Filling: Once you add the whipped cream, fold gently. Overmixing can deflate the air and make the cheesecake dense.
- Skipping the Zest: The zest contains so much flavor and aromatic oils. Without it, your lemon flavor won’t be as bright and vibrant.
How to Store Easy No Bake Lemon Cheesecake
- Refrigeration: Store leftover cheesecake covered tightly with plastic wrap in the refrigerator for up to 3-4 days.
- Freezing (Un-garnished): You can freeze the cheesecake (without the whipped cream or lemon slices) for up to 1 month. Wrap it tightly in plastic wrap, then in foil. Thaw in the refrigerator overnight before serving.
Frequently Asked Questions
Can I use a different type of crust?
Yes, absolutely! While graham crackers are classic, you could also use shortbread cookies or even vanilla wafers for the crust. Just use the same amount of crumbs and melted butter.
How do I know if my cream cheese is softened enough?
Your cream cheese is ready when it’s soft to the touch and easily yields when you press it with a finger. It should be pliable, not firm.
Can I make this ahead of time for a party?
This Easy No Bake Lemon Cheesecake is perfect for making ahead! Since it needs at least 6 hours to chill (and ideally overnight), it’s a great option to prepare the day before your event.
What if I don’t have a springform pan?
You can use a regular 9-inch pie plate. Just be aware that serving slices might be a bit messier, as you won’t be able to remove the sides of the pan.
I really hope you give this Easy No Bake Lemon Cheesecake a try! It’s such a delightful dessert, perfect for any occasion, or just a treat for yourself. When you make it, please let me know how it turns out – I’d love to hear about it!
PrintEasy No Bake Lemon Cheesecake

A bright, creamy, and refreshing no-bake cheesecake featuring a zesty lemon filling and a buttery graham cracker crust.
- Prep Time: 20
- Total Time: 380
- Yield: 8 servings
- Category: Dessert
- Method: No-Bake
- Cuisine: American
- Diet: Vegetarian
Ingredients
- 2 cups (165 g) graham cracker crumbs
- ½ cup (115 g) unsalted butter, melted
- 16 oz (450 g) cream cheese, softened at room temperature
- 1 cup (200 g) granulated sugar
- 1 cup (250 ml) heavy cream, whipped to soft peaks
- Juice and zest of 2 lemons
- Whipped cream and additional lemon zest or lemon slices
Instructions
- In a medium bowl, combine graham cracker crumbs and melted butter.
- Mix until well combined and crumbs are evenly moistened.
- Press the mixture firmly into the bottom of a 9-inch springform pan.
- Place the pan in the fridge to chill while preparing the filling.
- In a large bowl, beat the softened cream cheese until it is smooth and creamy.
- Gradually add the granulated sugar to the cream cheese.
- Beat well until the sugar is fully incorporated and the mixture is smooth.
- Gently fold in the whipped heavy cream.
- Add the fresh lemon juice to the cream cheese mixture.
- Add the lemon zest to the cream cheese mixture.
- Fold all ingredients together until the mixture is smooth and well combined.
- Pour the cream cheese mixture over the chilled crust in the springform pan.
- Smooth the top of the cheesecake with a spatula.
- Refrigerate the cheesecake for at least 6 hours to set.
- For best results, chill the cheesecake overnight.
- To serve, run a small, warmed paring knife around the edge of the springform pan to loosen the cheesecake.
- Remove the cheesecake from the springform pan.
- Garnish with additional whipped cream and fresh lemon zest or lemon slices just before serving.
- Slice and enjoy immediately.


