
Oh, you know those days when you just can’t decide between a chewy chocolate chip cookie and a rich, fudgy brownie? I’ve been there so many times! That’s exactly how these Red Velvet Brookies came into my life. It was a Saturday afternoon, I had a serious craving for something comforting, and I decided to combine two of my all-time favorite treats. The result? Pure magic in every bite – a vibrant red velvet brownie swirled with a classic chocolate chip cookie. It’s truly the best of both worlds!
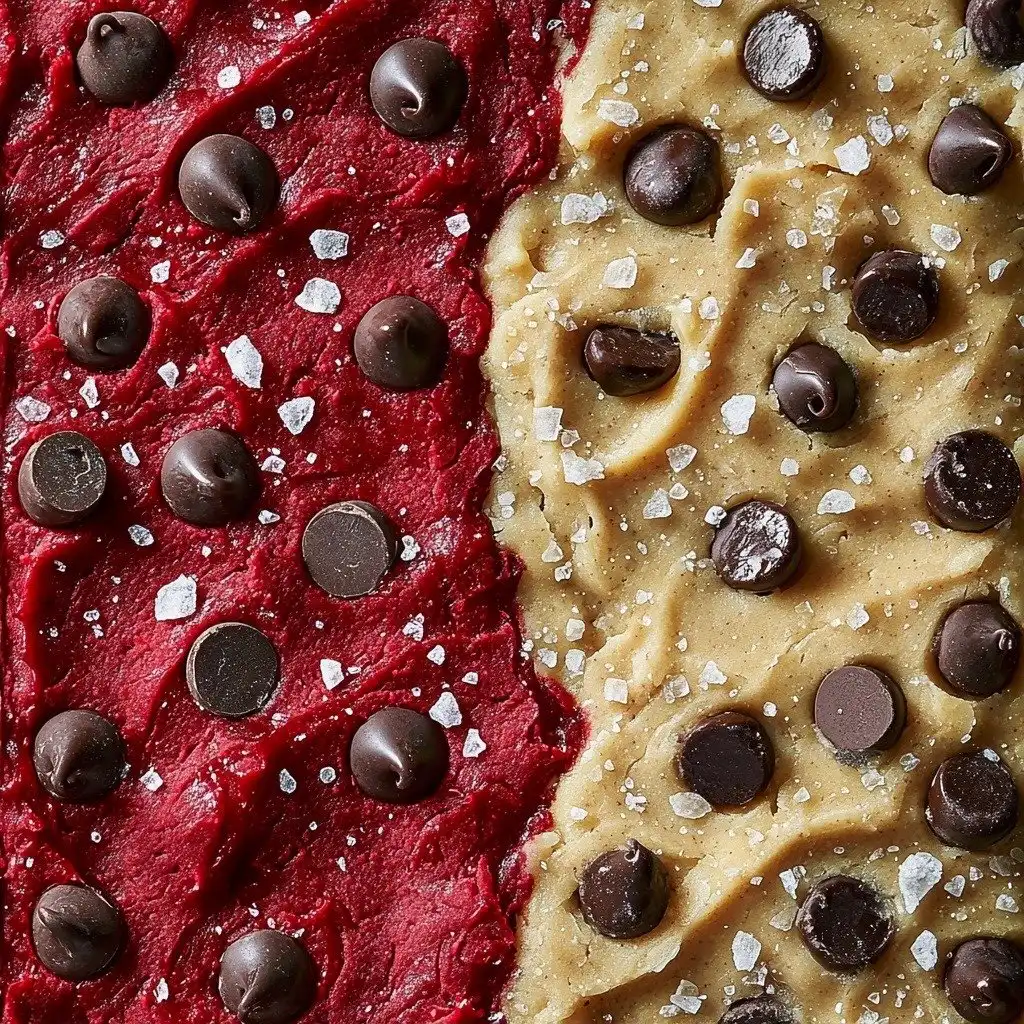
Why You’ll Love This Red Velvet Brookies
- These brookies are incredibly easy to make, even if you’re new to baking.
- You get the best of both worlds: fudgy red velvet brownie and chewy chocolate chip cookie.
- The vibrant red color makes them perfect for holidays or just a fun dessert.
- They’re a real crowd-pleaser and always disappear fast at gatherings!
Ingredients You’ll Need
- Unsalted Butter: Using unsalted butter lets you control the saltiness of your brookies. Make sure it’s at room temperature for the cookie dough and melted for the brownie.
- Brown Sugar & White Sugar: The combination gives you that perfect chewy texture in the cookies and fudgy richness in the brownies.
- Vanilla Extract: Don’t skimp on this! It deepens all the flavors.
- Kosher Salt: A little salt balances the sweetness and enhances the chocolate.
- Eggs: They bind everything together and add richness.
- All-Purpose Flour: The backbone of both batters. Make sure not to overmix!
- Baking Powder: This helps the cookie layer rise just enough to be soft and chewy.
- Chocolate Chips: Use your favorite kind! Semi-sweet or milk chocolate work wonderfully here.
- Unsweetened Cocoa Powder: This gives the red velvet brownie its classic chocolatey depth.
- Red Food Coloring: Essential for that iconic red velvet hue. Gel food coloring works best for a vibrant color.
- White Vinegar: This reacts with the cocoa powder and baking powder, enhancing the red color and contributing to the brownie’s tender crumb.
How to Make Red Velvet Brookies Step by Step
First things first, let’s get that oven ready! Preheat it to 350°F (175°C) and grab your 13×9-inch baking pan. Lining it with parchment paper is a game-changer – make sure the paper hangs over the two longer sides so you can lift the brookies out easily later. Give that parchment a good spray with cooking spray too.
Now for the cookie dough! In your stand mixer, cream together the room temperature butter, brown sugar, and white sugar. Let it go for about 2 minutes until it’s light and fluffy, scraping down the sides often. This step incorporates air, making your cookies soft. Then, stir in the vanilla and salt. Add those eggs one at a time, beating just until each is combined. Finally, gently mix in the flour and baking powder, and then those yummy chocolate chips. Don’t overmix, just until combined!
For the red velvet brownie layer, we’ll use a large bowl. Whisk together the melted butter, sugar, cocoa powder, vanilla extract, red food coloring, white vinegar, eggs, and salt until smooth. Then, fold in the flour just until you don’t see any dry streaks anymore. This is where the magic happens! Now, you’ll alternate scoops of the cookie dough and the red velvet brownie batter into your prepared pan. Don’t worry about making it perfect; a rustic swirl looks beautiful. Pop it into your preheated oven.
Bake your brookies for about 30 to 40 minutes. You’re looking for the cookie dough to be golden and both batters to be fully set. A toothpick inserted into the brownie section should come out with moist crumbs, not wet batter. As soon as they come out of the oven, sprinkle a little sea salt on top – trust me, it’s delicious! Let them cool completely in the pan before slicing. This is the hardest part, but it ensures clean cuts and perfect texture.
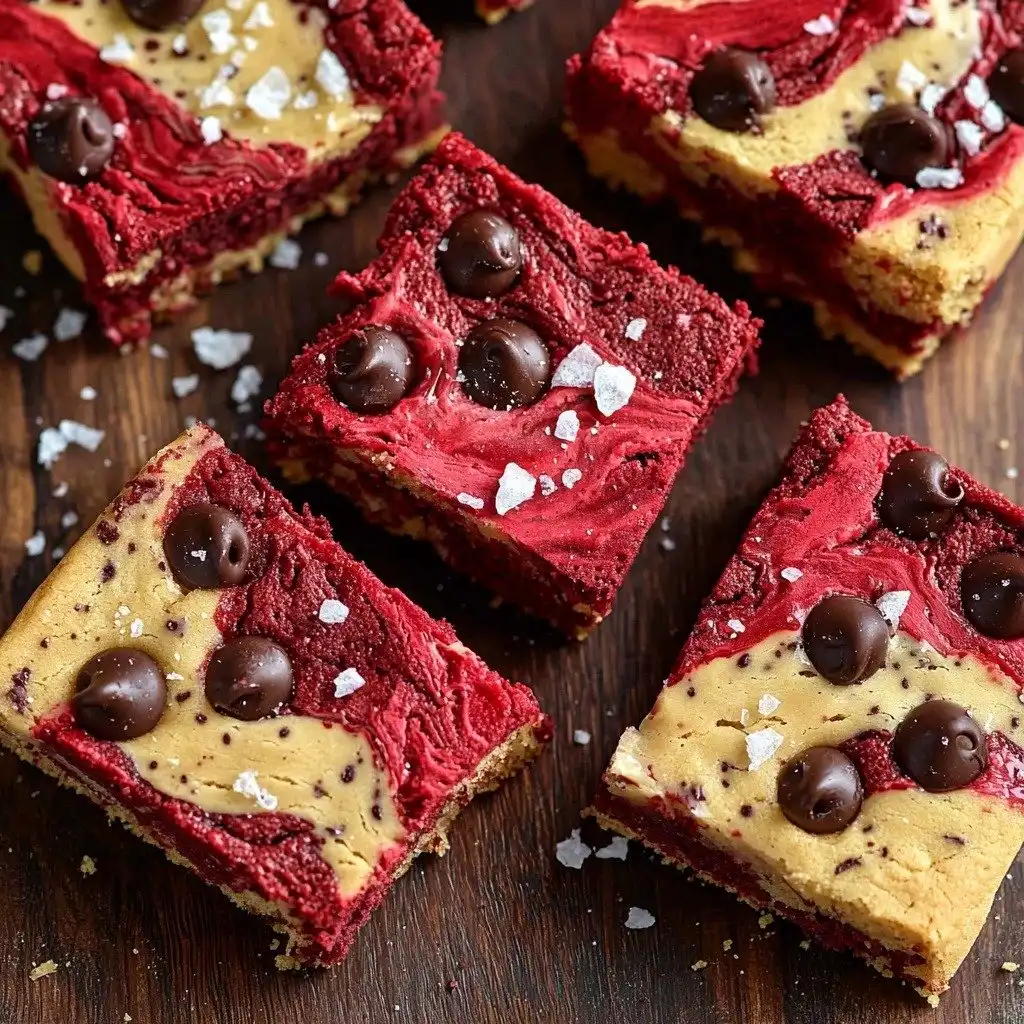
My Top Tips for Success
- Don’t Overmix: When adding flour to both batters, mix only until just combined. Overmixing develops gluten, leading to tougher brookies.
- Room Temperature Butter & Eggs: For the cookie dough, always use room temperature butter and eggs. They cream together better, creating a smoother, more uniform batter.
- Parchment Paper is Your Friend: Lining the pan with parchment paper that overhangs makes lifting the cooled brookies out a breeze for clean slicing.
- Cool Completely: I know it’s tempting, but let the brookies cool completely in the pan before slicing. This allows them to set properly, preventing crumbling.
- Sea Salt Finish: A sprinkle of flaky sea salt right when they come out of the oven really enhances the chocolate flavors. Trust me on this one!
Common Mistakes to Avoid
- Overbaking: This is a common one! Overbaking will lead to dry, crumbly brookies. Start checking at 30 minutes; you want them set but still a little fudgy in the center.
- Not Lining the Pan: Forgetting parchment paper means your brookies might stick, making them very difficult to remove and slice neatly.
- Overmixing the Flour: When you add the flour, mix just until no dry streaks remain. Overmixing results in tough, dense brookies instead of soft and chewy ones.
- Slicing While Warm: It’s hard to wait, but slicing warm brookies will cause them to fall apart. Always let them cool completely for clean, perfect squares.
How to Store Red Velvet Brookies
- Countertop: Store in an airtight container at room temperature for up to 3-4 days.
- Refrigerator: For longer storage, keep them in an airtight container in the fridge for up to a week. They’re delicious chilled too!
- Freezer: Wrap individual brookies tightly in plastic wrap, then place them in a freezer-safe bag or container for up to 3 months. Thaw at room temperature.
Are Red Velvet Brookies hard to make?
Not at all! This recipe breaks it down into simple steps, making it very approachable for even beginner bakers. You’re essentially making two easy batters and swirling them together.
Can I make these ahead of time?
Absolutely! Red Velvet Brookies store well at room temperature for a few days, or in the fridge for up to a week. They even freeze beautifully, so they’re perfect for meal prep or gifting.
What kind of red food coloring should I use?
For the most vibrant red, I recommend using a gel food coloring. Liquid food coloring can work, but you might need more of it, which can affect the batter consistency slightly.
Why do I need white vinegar in the red velvet brownie?
The white vinegar reacts with the cocoa powder and baking soda (if present, though in this recipe it helps enhance the color with cocoa), intensifying the red color and contributing to the brownie’s tender, fudgy texture. It’s a classic red velvet secret!
How do I know when the brookies are done baking?
The cookie dough will look golden, and a toothpick inserted into the brownie section should come out with moist crumbs, not wet batter. The edges should be set, but the center can still be slightly soft.
I really hope you give these Red Velvet Brookies a try! They’re such a fun and delicious treat, perfect for any occasion or just when you need a little pick-me-up. If you make them, I’d love to hear how they turned out and what you thought. Happy baking, friends!
PrintRed Velvet Brookies
Indulge in the best of both worlds with these Red Velvet Brookies, featuring a rich, fudgy red velvet brownie swirled with a chewy chocolate chip cookie.
- Prep Time: 25
- Cook Time: 35
- Total Time: 60
- Yield: 16 servings
- Category: Dessert
- Method: Baking
- Cuisine: American
Ingredients
- FOR THE COOKIE BATTER:
- Cooking spray
- 2/3 cup unsalted butter, at room temp
- 1 1/2 cups packed light brown sugar
- 1 cup white sugar
- 2 teaspoons vanilla extract
- 1/2 teaspoon kosher salt
- 3 large eggs
- 3 cups all-purpose flour
- 1 teaspoon baking powder
- 1 cup chocolate chips
- FOR THE RED VELVET BROWNIE BATTER:
- 1/2 cup unsalted butter, melted
- 1 cup white sugar
- 1/4 cup unsweetened cocoa powder
- 1/2 teaspoon vanilla extract
- 1 Tablespoon red food coloring
- 1/2 teaspoon white vinegar
- 2 large eggs
- 1/8 teaspoon kosher salt
- 3/4 cup all-purpose flour
Instructions
- Preheat the oven to 350°F (175°C).
- Line a 13×9-inch baking pan with parchment paper, ensuring it hangs over on the two longer sides.
- Grease the parchment paper with cooking spray.
- In the bowl of a stand mixer fitted with the paddle attachment, cream together the room temperature butter, light brown sugar, and white sugar for about 2 minutes until light and fluffy.
- Scrape down the sides of the bowl as needed during creaming.
- Add the vanilla extract and 1/2 teaspoon kosher salt to the creamed mixture.
- Beat until just combined.
- Add 3 large eggs one at a time, beating well after each addition until just combined.
- Add 3 cups all-purpose flour and 1 teaspoon baking powder to the wet ingredients.
- Beat on low speed just until combined and no dry streaks remain.
- Stir in 1 cup chocolate chips until evenly distributed.
- Set the cookie batter aside.
- In a large bowl, whisk together 1/2 cup melted butter, 1 cup white sugar, 1/4 cup unsweetened cocoa powder, 1/2 teaspoon vanilla extract, 1 Tablespoon red food coloring, 1/2 teaspoon white vinegar, 2 large eggs, and 1/8 teaspoon kosher salt until smooth.
- Fold in 3/4 cup all-purpose flour just until combined and no dry streaks remain.
- Alternately add scoops of the prepared cookie batter and the red velvet brownie batter to the lined baking pan.
- Evenly distribute the batters in the pan, swirling gently if desired.
- Bake for 30 to 40 minutes, or until the cookie dough is golden and both batters are fully set.
- Remove the brookies from the oven immediately.
- Sprinkle lightly with sea salt (optional, but recommended) while still warm.
- Let the brookies cool completely in the pan before slicing into squares and serving.
Notes
Use room temperature butter and eggs for the cookie dough for the best texture.
Do not overmix the flour in either batter to keep the brookies tender.
Cool completely before slicing for clean, neat squares.
A sprinkle of flaky sea salt on top right after baking enhances the flavors.


