
There’s something so comforting about a side dish that feels a little bit special, isn’t there? For years, I struggled to find that perfect balance – something easy enough for a weeknight but elegant enough for a holiday meal. Then I discovered these incredible Green Bean Bundles, and my kitchen (and my dinner table!) was forever changed. They’re savory, a little sweet, and always disappear first.
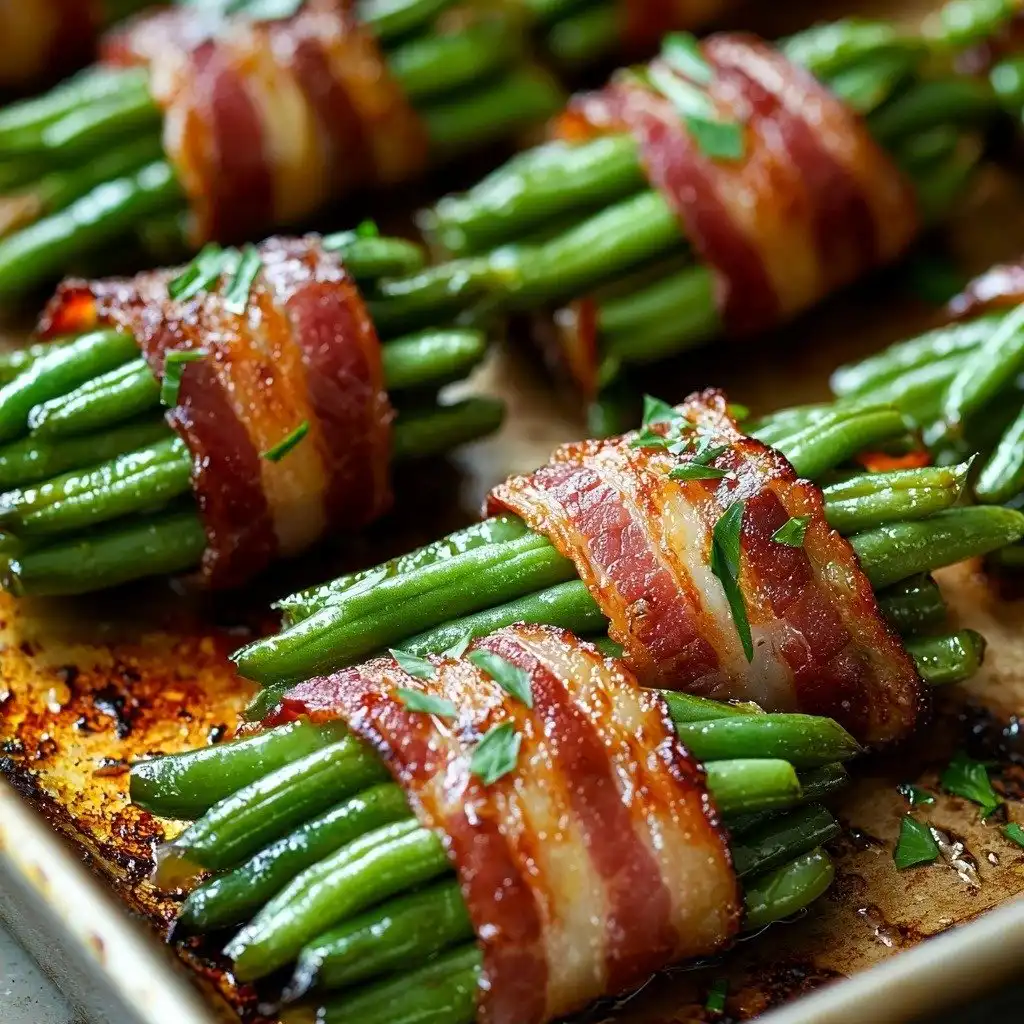
Why You’ll Love These Green Bean Bundles
- Seriously Delicious: The combination of crisp-tender green beans, smoky bacon, and a sweet, savory butter glaze is just irresistible.
- Easier Than You Think: Don’t let their fancy appearance fool you – these are surprisingly simple to put together, even for beginner cooks.
- Perfect for Any Occasion: From a cozy family dinner to a festive holiday spread, these Green Bean Bundles always shine.
- Crowd-Pleaser Guaranteed: Everyone, and I mean everyone, asks for the recipe when I serve these!
Ingredients You’ll Need
- Green Beans: Look for thinner green beans, sometimes called haricot vert. They cook up more tender and wrap beautifully.
- Bacon: Regular cut bacon works best here, not thick-cut. It gets nice and crispy without overwhelming the beans.
- Garlic Salt: This is my secret weapon for a punch of flavor! If you don’t have it, a mix of garlic powder and regular salt will do the trick.
- Melted Butter: Unsalted is fine, but salted butter adds a little extra something. It helps the glaze stick to the beans.
- Brown Sugar: This adds that lovely touch of sweetness that balances the savory bacon and green beans.
- Pepper: Freshly ground black pepper is always best for a little kick.
- Chopped Parsley: Totally optional, but a sprinkle of fresh parsley at the end adds a pop of color and freshness.
How to Make Green Bean Bundles Step by Step
First things first, preheat your oven to a cozy 400°F (200°C). While that’s warming up, grab a sheet pan and lay out your bacon. Pop it in the oven for just 7 minutes. This pre-bakes it a little so it’s not raw when you wrap it, but it’s not fully crispy yet – that comes later!
While the bacon is doing its thing, you’ll want to get your green beans ready. Trim off those tough ends. Then, bring a pot of salted water to a rolling boil. Drop your trimmed green beans into the boiling water and let them cook for just 2-3 minutes. You want them to be just tender, not mushy! As soon as they’re done, quickly drain them and plunge them into a bowl of ice water. This “ice bath” stops the cooking process and keeps them bright green and crisp-tender. Don’t worry, this is where the magic happens!
Pat those beautiful green beans completely dry – this is important so the glaze sticks. In a small bowl, whisk together your melted butter, brown sugar, garlic salt, and pepper. Pour this delicious mixture over your dried green beans and toss them gently to coat every single one. Now for the fun part: grab a small bundle of 8-10 green beans and wrap a piece of that pre-cooked bacon around them. Secure it with a toothpick. Place these little bundles of joy on a sheet pan that you’ve coated with cooking spray. Finally, bake them for another 15-20 minutes, or until the bacon is perfectly crispy. A sprinkle of fresh parsley at the end is a lovely finishing touch!
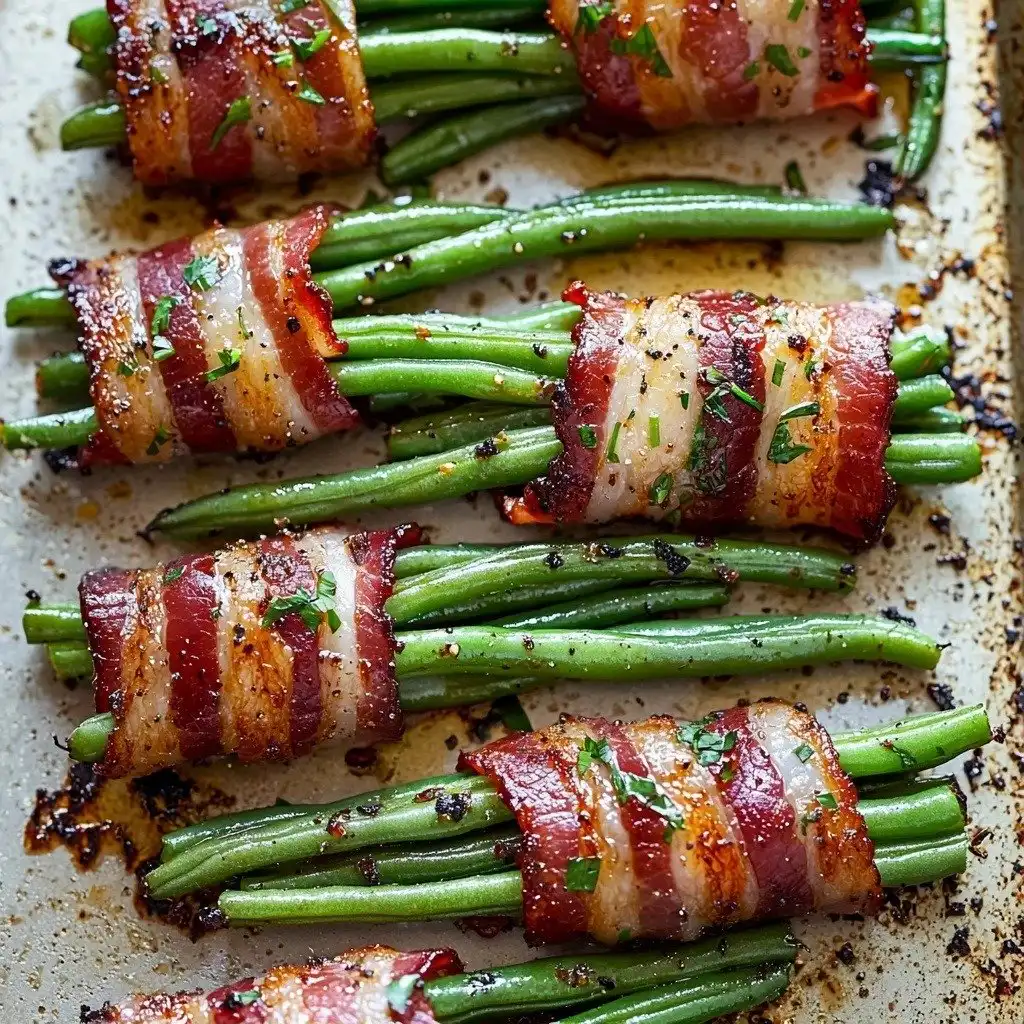
My Top Tips for Success
- Blanching is Key: Don’t skip the step of blanching the green beans in salted water and then shocking them in ice water. This keeps them vibrant and perfectly tender.
- Pat Them Dry: I always make sure my green beans are super dry after blanching. This helps the butter glaze really stick and coat them well.
- Don’t Overcook the Bacon (Pre-Bake): Trust me on this one! The initial 7-minute bake is just to get it started. It will crisp up beautifully when wrapped around the beans.
- Choose Thinner Beans: In my experience, thinner green beans (haricot vert) make for neater, more elegant bundles and cook more evenly.
- Secure with Toothpicks: A simple toothpick is your best friend here to keep those bundles neat and tidy while baking.
Common Mistakes to Avoid
- Overcooking the Green Beans: If you cook them too long during the blanching step, they’ll be mushy. Cook for just 2-3 minutes until bright green and just tender.
- Not Drying the Green Beans: If the beans are wet, the butter mixture won’t adhere properly, leading to less flavor and a watery glaze.
- Using Thick-Cut Bacon: Thick-cut bacon takes much longer to crisp up and can overwhelm the delicate green beans. Stick to regular cut.
- Forgetting the Cooking Spray: The glaze can make the bundles stick to the pan, so make sure your sheet pan is well-coated with cooking spray.
How to Store Green Bean Bundles
- Refrigerator: Store leftover Green Bean Bundles in an airtight container in the refrigerator for up to 3-4 days.
- Reheating: For best results, reheat in a preheated oven at 350°F (175°C) for about 10-15 minutes, or until warmed through and the bacon is crispy again. You can also microwave them, but the bacon won’t be as crisp.
Frequently Asked Questions
What kind of green beans should I use?
I recommend using thinner green beans, also known as haricot vert. They cook quickly and wrap beautifully into neat bundles.
Can I make Green Bean Bundles ahead of time?
Yes! You can blanch the green beans, mix the butter glaze, and even wrap the bundles a day in advance. Store the wrapped bundles covered in the refrigerator, then bake just before serving.
What can I use instead of garlic salt?
If you don’t have garlic salt, you can use 1/2 teaspoon of garlic powder and 1/2 teaspoon of regular salt. This will give you a similar flavor profile.
Can I use turkey bacon?
You can, but the flavor and texture will be different. Turkey bacon tends to be leaner and won’t get as crispy as regular pork bacon.
Why do I need to blanch the green beans?
Blanching the green beans ensures they are tender-crisp and bright green before baking. It also helps to set their color and shorten the final baking time.
I hope these Green Bean Bundles become a new favorite in your kitchen, just like they have in mine! They’re truly a simple way to elevate any meal. If you give them a try, I’d absolutely love to hear how they turned out for you!
PrintGreen Bean Bundles
Crisp-tender green beans wrapped in savory bacon with a sweet and garlicky butter glaze. A perfect side dish for any occasion.
- Prep Time: 20
- Cook Time: 27
- Total Time: 47
- Yield: 6-8 servings
- Category: Side Dish
- Method: Baking
- Cuisine: American
Ingredients
- 1 1/4 lbs green beans
- 6 slices bacon cut in half
- 1 teaspoon garlic salt or 1/2 teaspoon garlic powder and 1/2 teaspoon salt
- 1/4 cup butter melted
- 2 tablespoons brown sugar
- 1/2 teaspoon pepper
- 1 tablespoon chopped parsley optional
- cooking spray
Instructions
- Preheat the oven to 400 degrees F (200 C).
- Place the bacon on a sheet pan.
- Bake the bacon for 7 minutes.
- Remove the bacon from the oven.
- Trim the ends of the green beans.
- Bring a pot of salted water to a boil.
- Place the green beans in the pot.
- Cook for 2-3 minutes until just tender.
- Drain the green beans.
- Put the green beans in a bowl of ice water to stop the cooking process.
- Pat the green beans dry.
- In a small bowl, mix together the garlic salt, melted butter, brown sugar, and pepper.
- Pour the butter mixture over the green beans.
- Toss the green beans to coat them evenly.
- Wrap 8-10 green beans with a piece of bacon.
- Secure each bundle with a toothpick.
- Place the green bean bundles on a sheet pan coated with cooking spray.
- Bake for 15-20 minutes or until the bacon is crispy.
- Sprinkle with chopped parsley (optional).
- Serve immediately.
Notes
Look for thinner green beans (haricot vert) for best results.
Ensure green beans are patted completely dry for the glaze to adhere well.
Do not use thick-cut bacon, as it will take longer to crisp.
Bundles can be assembled ahead of time and baked just before serving.


