
There’s just something magical about a homemade cheesecake, isn’t there? For me, it brings back memories of family gatherings, always ending with a slice of something rich and creamy. But sometimes, those elaborate recipes can feel a bit daunting. That’s why I’m so excited to share my go-to recipe for Easy Baked Raspberry Cheesecake (Gluten Free Option) with you today. It’s truly a showstopper, but secretly, it’s so approachable, even for beginner bakers. You’ll love how simple it is to bring this beautiful dessert to life!
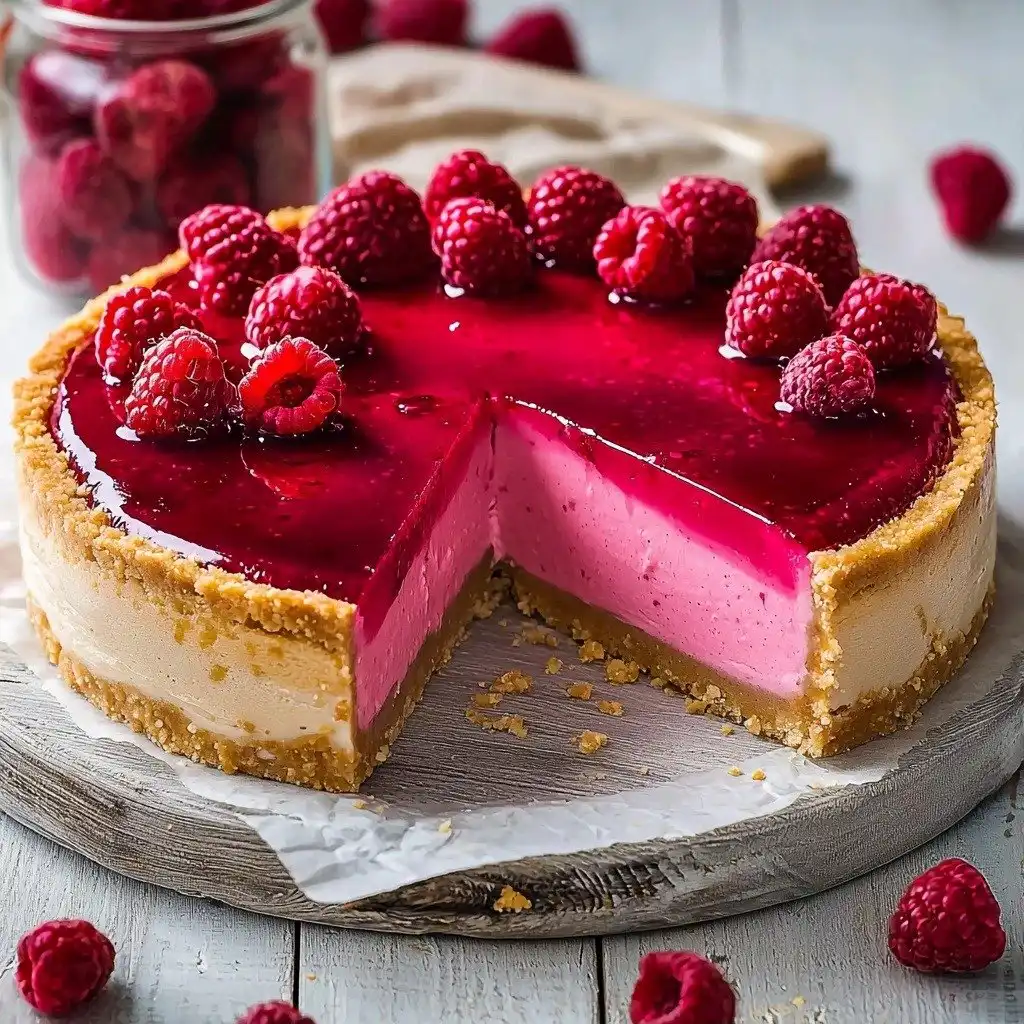
Why You’ll Love This Easy Baked Raspberry Cheesecake (Gluten Free Option)
- It’s got that perfect creamy, dreamy texture that all great cheesecakes have, with a lovely tart raspberry swirl.
- The crust is wonderfully buttery and crunchy, providing a delightful contrast.
- It looks incredibly impressive, making it perfect for special occasions, but it’s easy enough for a weekend treat.
- The gluten-free option means everyone can enjoy a slice!
Ingredients You’ll Need
- Digestive Biscuits (or Graham Crackers): These form the base of our crust. If you’re going gluten-free, just grab some gluten-free digestives or other plain cookies.
- Unsalted Butter: The butter binds the crust together. The exact amount can vary a little depending on your chosen biscuits, so add it slowly until it feels like wet sand.
- Fresh or Frozen Raspberries: We use raspberries in three ways here – for the filling reduction, for the beautiful sauce, and fresh ones for garnish. Both fresh and frozen work wonderfully!
- Full-Fat Cream Cheese: This is the star of our cheesecake! Make sure it’s at room temperature for a super smooth filling. I always use Philadelphia.
- Full-Fat Plain or Greek-Style Yoghurt: This adds a lovely tang and helps with the creamy texture. Sour cream is also a great substitute. Also room temperature, please!
- Caster/Superfine or Granulated Sugar: Sweetens both the filling and the sauce.
- Cornflour (UK)/Cornstarch (US): This is our secret weapon for a stable, crack-free cheesecake. Mixing it with sugar first prevents lumps!
- Vanilla Bean Paste (or Vanilla Extract): Adds that classic warm, comforting vanilla flavor.
- UK Medium/US Large Eggs: These bind the filling. Add them one at a time and mix gently to avoid incorporating too much air.
How to Make Easy Baked Raspberry Cheesecake (Gluten Free Option) Step by Step
First things first, we’re going to get that oven ready and prepare our springform pan. Line the bottom and sides with baking paper – this makes removing the cheesecake a breeze. Then, crush your biscuits super fine and mix them with melted butter until it looks like wet sand. Press this mixture firmly into your lined pan, making sure to create a nice rim around the edge. Pop it in the oven for 10 minutes to get it nice and golden, then let it cool while you prepare the filling.
Now for the star of the show – the raspberry filling! We start with a raspberry reduction. Cook some raspberries until they’re soft, then press them through a sieve to remove the seeds. Cook that beautiful juice down until it’s thick and syrupy – this is where the magic happens for that vibrant raspberry flavor. While that cools, gently mix your room-temperature cream cheese and yogurt until smooth. Remember, we’re mixing, not whipping, to keep air out!
Next, combine your sugar and cornflour – this little trick ensures no lumps in your filling. Add it to the cream cheese mixture, then stir in the vanilla. Finally, add the eggs one by one, mixing until just combined. Fold in your cooled raspberry reduction until the filling is a pretty pink. Pour this into your cooled crust, smooth the top, and bake it low and slow. You’ll know it’s ready when the edges are set but the center still has a little wobble. Let it cool slowly in the turned-off oven, then chill it for at least 4 hours, or even better, overnight!
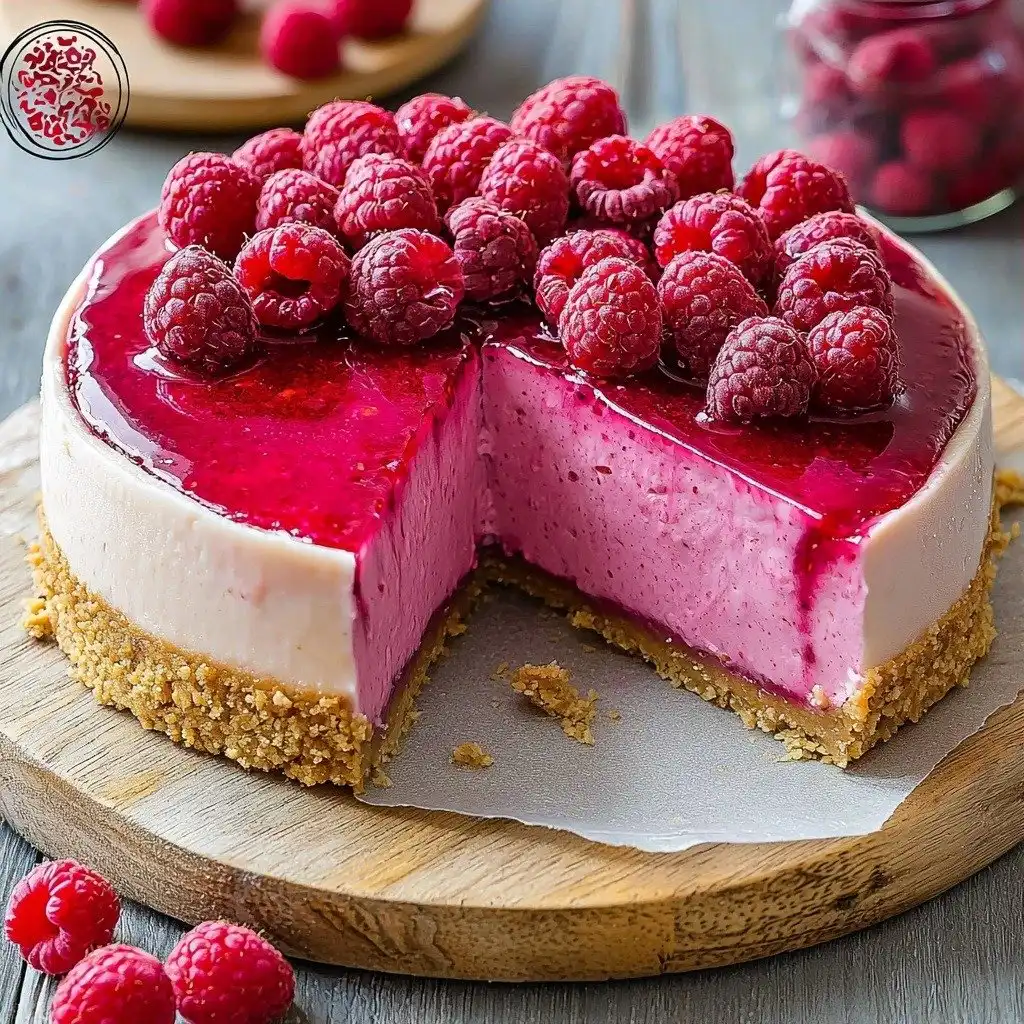
My Top Tips for Success
- I always make sure my cream cheese and yogurt are at room temperature. It makes for the smoothest, creamiest filling.
- In my experience, gentle mixing is key for the filling. Don’t overmix and incorporate too much air, or your cheesecake might crack.
- Trust me on this one: chilling the cheesecake for a full 4 hours (or overnight!) is non-negotiable. It helps it set perfectly.
- When making the raspberry reduction, don’t rush it. Let it cook down until it’s thick and viscous for the best flavor.
- Always line your springform pan! It makes removing the cheesecake so much easier and prevents sticking.
Common Mistakes to Avoid
- Overmixing the filling: This incorporates too much air, which can cause cracks in your cheesecake as it bakes and cools. Mix gently until just combined.
- Not chilling long enough: An under-chilled cheesecake will be soft and difficult to slice. Patience is a virtue here!
- Baking at too high a temperature: High heat can lead to a dry, cracked cheesecake. Baking low and slow is the way to go for that perfect texture.
- Opening the oven door too often: This causes temperature fluctuations that can also lead to cracks. Try to resist peeking!
How to Store Easy Baked Raspberry Cheesecake (Gluten Free Option)
- Refrigerator: Keeps well in a closed container in the fridge for 4-5 days.
Frequently Asked Questions
Can I use frozen raspberries?
Yes, absolutely! Both fresh and frozen raspberries work perfectly for the filling reduction and the sauce. No need to thaw them first.
Why did my cheesecake crack?
Cheesecakes often crack due to overmixing the filling (incorporating too much air), baking at too high a temperature, or cooling too quickly. Follow the tips for gentle mixing and slow cooling to prevent this.
Can I make this cheesecake ahead of time?
Yes, this cheesecake is perfect for making ahead! It needs at least 4 hours to chill, but it’s even better if made the day before you plan to serve it.
What if I don’t have a springform pan?
While a springform pan is ideal, you could use a regular 8-inch round cake pan lined very well with parchment paper, leaving an overhang to lift the cheesecake out. It just won’t look quite as neat.
How do I know when the cheesecake is done baking?
The edges should be set and slightly puffed, but the center should still have a slight wobble when you gently shake the pan. It will continue to set as it cools.
I truly hope this Easy Baked Raspberry Cheesecake (Gluten Free Option) brings a little bit of joy and deliciousness to your day. It’s such a comforting and elegant dessert, and I know you’ll love making it as much as I do. If you give it a try, please let me know how it turns out!
PrintEasy Baked Raspberry Cheesecake (Gluten Free Option)

A creamy, dreamy baked raspberry cheesecake with a buttery crust and a vibrant homemade raspberry sauce, perfect for any occasion.
- Prep Time: 45
- Cook Time: 75
- Total Time: 360
- Yield: 8-10 servings
- Category: Dessert
- Method: Baking
- Cuisine: American
- Diet: Vegetarian
Ingredients
- 225 g (2 ¼ cups) finely crushed digestive biscuits
- 75 g (⅔ stick) unsalted butter, melted
- 400 g (3 ⅓ cups) fresh or frozen raspberries
- 600 g (2 ⅔ cups) full-fat cream cheese, room temperature
- 115 g (½ cup) full-fat plain or Greek-style yoghurt, room temperature
- 200 g (1 cup) caster/superfine or granulated sugar
- 20 g (3 tbsp) cornflour (UK)/cornstarch (US)
- ½ tsp vanilla bean paste (or 1 tsp vanilla extract)
- 3 UK medium/US large eggs, room temperature
- 200 g (1 ⅔ cups) fresh or frozen raspberries
- 75 g (¼ cup + 2 tbsp) granulated sugar
- 240 g (2 cups) fresh raspberries
Instructions
- Adjust the oven rack to the middle position. Preheat the oven to 350ºF (180ºC).
- Line an 8 inch (20cm) springform pan with baking paper on both the bottom and sides.
- Mix the crushed digestive biscuits and melted butter in a bowl until they resemble wet sand.
- Transfer the biscuit mixture to the lined springform pan.
- Using the flat bottom of a glass or measuring cup, press the mixture into an even layer with an approximately 1 ½ inch (4cm) rim around the edge.
- Bake the crust at 350ºF (180ºC) for 10 minutes.
- Remove the crust from the oven and allow it to cool until warm.
- Reduce the oven temperature to 285ºF (140ºC).
- In a saucepan, cook 400g of raspberries over medium-high heat with occasional stirring until softened and juices are released.
- Pass the cooked raspberry mixture through a sieve to remove seeds and skins.
- Return the strained raspberry juice to the saucepan.
- Cook the raspberry juice over medium-high heat with frequent stirring until it reduces to about ½ cup (110g) and is thick and viscous (about 15 minutes).
- Remove the raspberry reduction from heat and allow it to cool completely.
- In a large bowl, use a balloon whisk to gently mix the cream cheese and yogurt until smooth.
- In a separate small bowl, mix the 200g sugar and cornflour/cornstarch together.
- Add the sugar and cornflour mixture to the cream cheese mixture.
- Mix well until combined and smooth.
- Add the vanilla bean paste (or extract) and mix until evenly incorporated.
- Add the eggs one at a time, mixing well after each addition until smooth.
- Add the cooled raspberry reduction to the cheesecake filling.
- Mix well until the filling is an even pink color and the reduction is evenly incorporated.
- Transfer the raspberry cheesecake filling into the slightly cooled cheesecake crust.
- Smooth out the top of the filling.
- Bake at 285ºF (140ºC) for about 60-65 minutes, or until the edges are set and slightly puffed, and the middle is still wobbly.
- Turn off the oven.
- Allow the cheesecake to cool to room temperature in the turned-off oven with the oven door ajar.
- Once cooled to room temperature, transfer the cheesecake to the fridge for at least 4 hours (preferably overnight).
- For the raspberry sauce, add 200g of raspberries and 75g sugar to a saucepan.
- Cook over medium-high heat with occasional stirring until raspberries soften and release juices.
- Pass the cooked raspberry mixture through a sieve to remove seeds and skins.
- Return the strained juice back to the saucepan.
- Cook over medium-high heat with frequent stirring until reduced to about ⅓ cup (100g) and very viscous (about 10 minutes).
- Set the raspberry sauce aside to cool.
- Once the sauce is cool, mix it with 240g of fresh raspberries.
- Add a small amount of water if needed to loosen the sauce slightly, ensuring all fresh raspberries are coated.
- Once the cheesecake is fully chilled, remove it from the springform pan and place it on a serving plate.
- Just before serving, spoon over the raspberry sauce.
- Slice and serve the cheesecake.
Notes
Ensure all dairy ingredients are at room temperature for a smooth filling.
Mix the cheesecake batter gently to avoid incorporating too much air, which can cause cracks.
Chill the cheesecake for at least 4 hours, or preferably overnight, for the best set and slices.
If your springform pan isn’t leak-proof, place it on a baking sheet to catch any butter drips.


