
There’s something so comforting about a classic apple pie, isn’t there? But sometimes, you need to feed a crowd, or you just want a slice that’s a little easier to share. That’s exactly why I fell in love with Apple Slab Pie. It’s got all the warm, spiced apple goodness we adore, but baked in a sheet pan, making it perfect for gatherings or just having plenty for yourself!
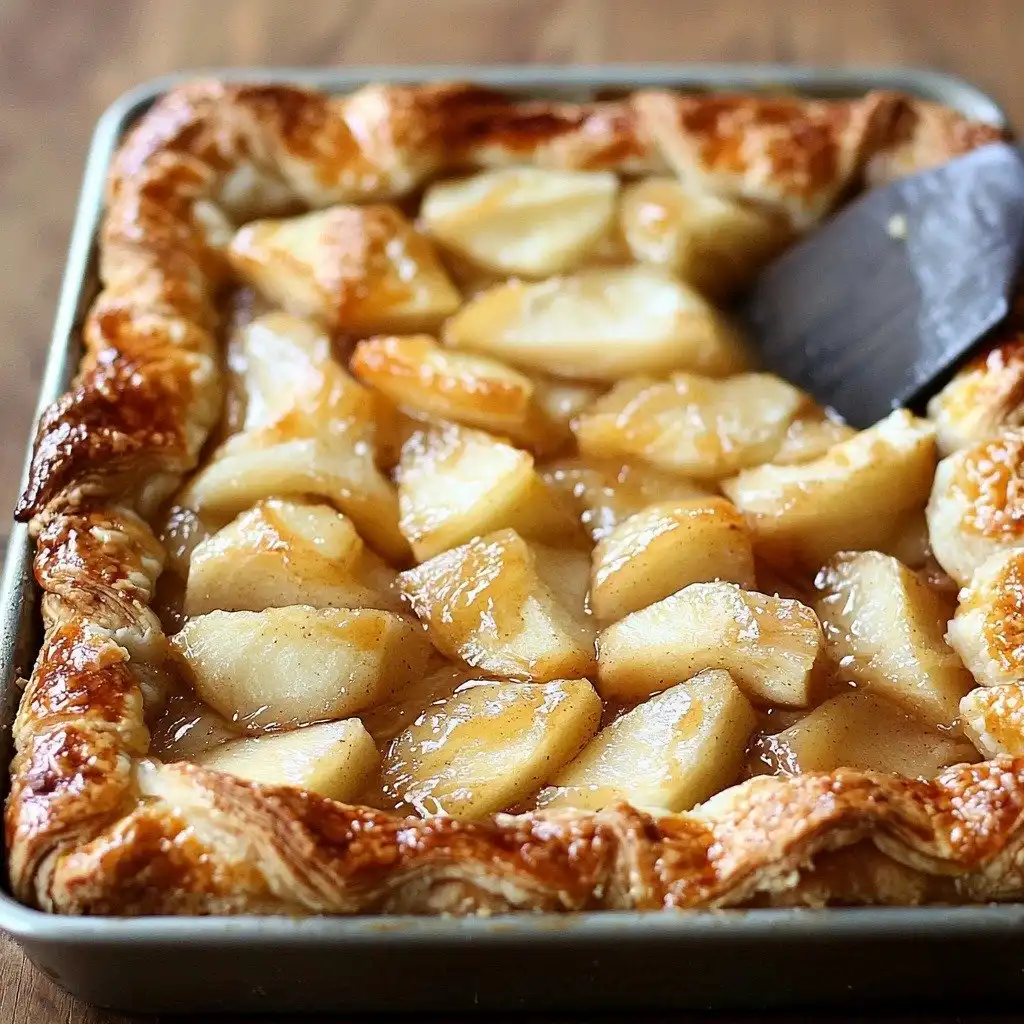
Why You’ll Love This Apple Slab Pie
- It feeds a crowd! Perfect for parties or family dinners.
- That buttery, flaky crust is simply irresistible.
- Packed with tender, spiced apples – a true taste of autumn.
- Easier to serve than a traditional round pie, trust me!
Ingredients You’ll Need
- All-purpose flour: This is the base for our perfectly flaky pie crust. No need for anything fancy here!
- Unsalted butter: Keeping it very cold is key for a tender, flaky crust. Don’t let it get warm!
- Very cold water: Just like the butter, cold water helps achieve that perfect crust texture.
- Apples: Use a mix of sweet and tart apples for the best flavor balance. Peeling and coring them is a little work, but so worth it!
- Lemon juice: A little squeeze brightens the apple flavor and keeps them from browning.
- Cornstarch: This is our secret weapon for a thick, luscious apple filling that isn’t watery.
- Spices (cinnamon, nutmeg, allspice): These warm spices are what give apple pie its signature cozy flavor.
- Heavy cream or egg wash: Brushing this on top gives your pie a beautiful golden-brown shine.
How to Make Apple Slab Pie Step by Step
First things first, let’s get that amazing crust started. You’ll measure out your flour, sugar, and salt into a big bowl. Then, toss in those super cold butter cubes – coating them in flour helps prevent them from melting too fast. Now, for the fun part: use your fingers to mash the butter into the flour until it’s about pea-sized. This is where the magic happens for flakiness!
Once your butter is worked in, slowly add the very cold water, little by little, until the dough just starts to come together. Don’t worry if it looks a little shaggy at first; gently bring it into a ball with your hands. Divide it, shape each piece into a rectangle, and pop them into the fridge to chill. This chilling step is super important for a tender crust, so don’t skip it!
While your dough is chilling, you can get the apple filling ready. Peel, core, and chop your apples, then toss them with a little lemon juice. In a separate bowl, mix your sugar, cornstarch, and all those wonderful spices. Sprinkle this over your apples and toss until everything is beautifully coated. Preheat your oven to 375°F, and get your sheet pan ready with some parchment paper.
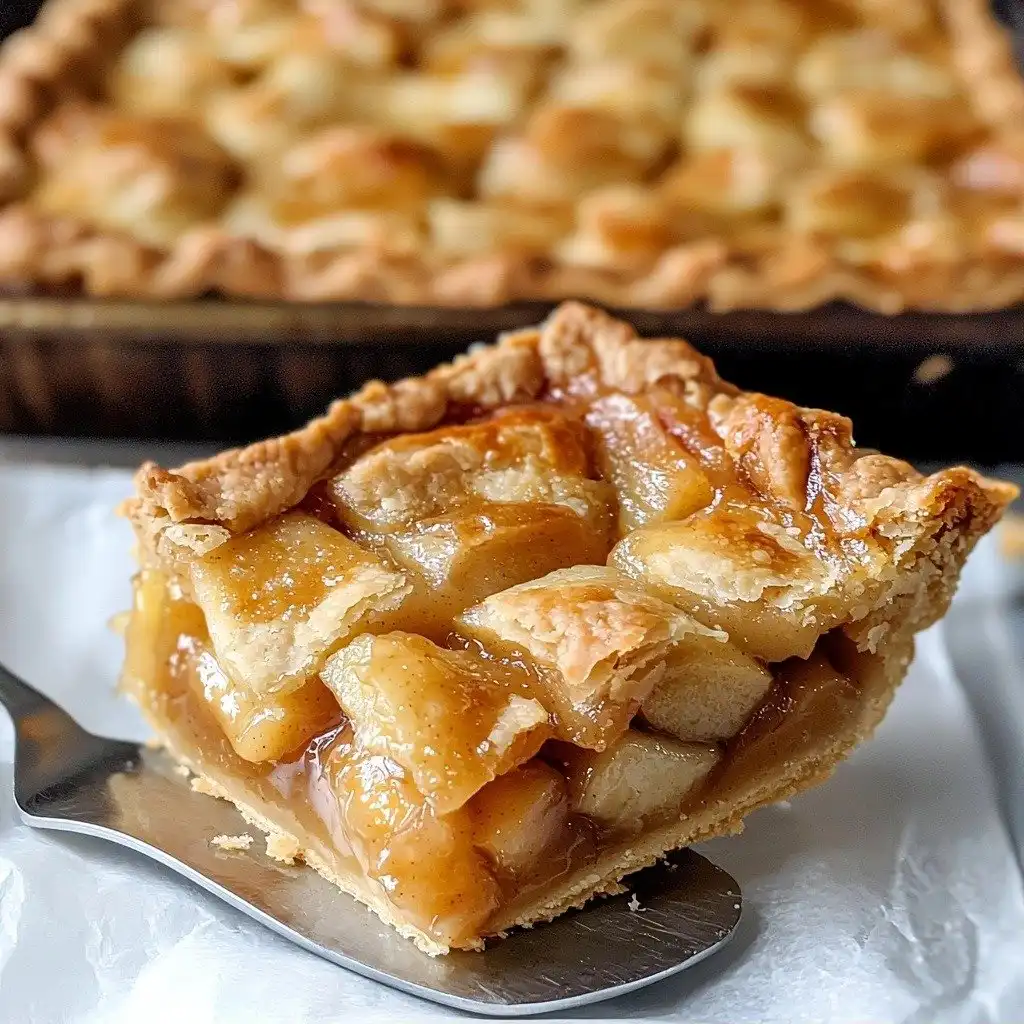
My Top Tips for Success
- I always make sure my butter and water are ice cold for the flakiest crust.
- In my experience, chilling the dough for at least two hours makes it much easier to roll out.
- Trust me on this one: don’t overwork the dough, or your crust will be tough.
- Use a mix of apple varieties for the best flavor and texture in your filling.
- Don’t be afraid to really pile on those apples; they cook down quite a bit!
Common Mistakes to Avoid
- Warm butter: If your butter is too warm when making the crust, it will melt into the flour instead of creating flaky pockets, resulting in a tough crust. Keep it cubed and very cold.
- Overworking the dough: Kneading the dough too much develops the gluten, making the crust tough and less tender. Only mix until it just comes together.
- Not chilling the dough enough: Insufficient chilling makes the dough sticky and difficult to roll out, and can lead to a less flaky crust. Always chill for at least 2 hours.
- Not adding enough cornstarch to the filling: Without enough cornstarch, your apple filling can be watery and runny. The specified amount helps create a perfectly thickened filling.
- Not cutting steam slits: Forgetting to cut slits in the top crust prevents steam from escaping, which can lead to a soggy bottom crust or a pie that bubbles over. Always make plenty of slits.
How to Store Apple Slab Pie
- Room Temperature: Covered loosely with foil or plastic wrap, for up to 2 days.
- Refrigerator: Tightly covered, for up to 4-5 days.
Frequently Asked Questions
Can I use store-bought pie crust?
Yes, you can use store-bought pie crust if you’re short on time. You’ll likely need about 2-3 boxes to cover a slab pie, so check the package directions for size.
What are the best apples for apple pie?
A mix of apples like Granny Smith, Honeycrisp, Fuji, or Braeburn works wonderfully. Granny Smiths provide a nice tartness, while the others add sweetness and texture.
How do I know when the pie is done baking?
The pie is done when the top crust is a beautiful golden brown and you can see the filling bubbling through the steam vents. The bubbling indicates the apples are tender and the filling is cooked through.
Can I freeze Apple Slab Pie?
Yes, you can freeze baked Apple Slab Pie. Wrap cooled pie tightly in plastic wrap and then foil, and freeze for up to 2-3 months. Thaw in the refrigerator overnight and reheat gently in the oven.
I hope this Apple Slab Pie brings a little extra joy and deliciousness to your kitchen! It’s such a fantastic way to enjoy classic apple pie in a super shareable format. If you make it, I’d absolutely love to hear how it turns out for you!
PrintApple Slab Pie
A delightful, large-format apple pie baked in a sheet pan, perfect for sharing and feeding a crowd with its flaky crust and spiced apple filling.
- Prep Time: 45
- Cook Time: 45
- Total Time: 170
- Yield: 12-16 servings
- Category: Dessert
- Method: Baking
- Cuisine: American
- Diet: Vegetarian
Ingredients
- 710 mL (470 grams) all-purpose flour
- 22 mL sugar
- 7 mL table salt
- 3 sticks (12 oz or 340 grams) unsalted butter, cubed and kept very cold
- 177 mL very cold water
- 3 ½ to 4 pounds apples, peeled, cored and chopped into approximately ½-inch chunks (about 10 cups)
- Squeeze of lemon juice
- ⅔ to ¾ cup sugar (depending on how sweet you like your pie and how sweet your apples are)
- 44 mL cornstarch
- 1 rounded tsp ground cinnamon
- 1 mL ground nutmeg
- 1 mL ground allspice
- 1 mL table salt
- 30 mL heavy cream or 1 egg beaten with 1 tbsp water
Instructions
- Measure the flour into a large, wide bowl.
- Whisk in the sugar and salt.
- Toss in the cold butter cubes and coat them all with the flour.
- Using your first 3 fingers of both hands, mash the butter into smaller pieces, just bigger than the size of peas.
- Stir in ½ cup of very cold water with a rubber spatula until the water is absorbed and the dough starts to come together.
- If the dough is still dry and crumbly, add up to the remaining ¼ cup of water, 1 tablespoon at a time, until the dough just starts to come together.
- Bring the dough together with your hands until it forms a soft and almost loose ball.
- Divide the pie dough into two pieces, one slightly larger than the other.
- Transfer the larger piece to a sheet of plastic wrap and mold it into a rectangular shape, about 1-inch thick.
- Repeat with the remaining dough piece, shaping it into a rectangular shape.
- Chill both dough pieces in the refrigerator for at least 2 hours.
- In a very large bowl, toss the apple chunks with the lemon juice.
- Sprinkle the sugar-spice mixture over the apples and toss them well to coat; set aside.
- Preheat the oven to 375°F (190°C).
- Line the bottom of a 10x15x1-inch baking sheet or similarly sized jelly roll pan with a piece of parchment paper.
- Roll out the larger piece of dough on a well-floured surface with a rolling pin into an 18×13-inch rectangle.
- Transfer the dough to the prepared pan and gently drape the edges of the dough over the sides of the pan, pushing it down into the inside and corners.
- Slip the pan with the bottom crust into the fridge or freezer while you roll out the second piece of dough.
- Roll out the second piece of dough into a 16×11-inch rectangle.
- Remove the pan from the fridge/freezer.
- Pour the apples and their juices over the dough in the pan.
- Drape the second sheet of dough over the apples.
- Trim the dough so both top and bottom edges hang about ¾-inch over the edge of the pan.
- Seal up the edges tightly with your fingers.
- Brush the top of the dough with the heavy cream or egg wash.
- Using a sharp knife, slice a whole bunch of 1-inch slits in the top of the dough to allow steam to escape.
- Place the entire sheet pan on a larger baking sheet to catch any potential spillage.
- Bake for 40 to 45 minutes, until the top crust is a nice golden brown and the filling is bubbling through the holes.
- Cool the pan on a wire rack for at least 45 minutes before cutting and serving.
Notes
Ensure butter and water are very cold for a flaky crust.
Do not overwork the pie dough to keep it tender.
Chill the dough for at least 2 hours for best results.
Cool the pie completely before slicing to allow the filling to set.


