
Oh, if there’s one treat that instantly transports me back to childhood, it’s those magical chocolate-covered coconut bars. But let’s be real, the store-bought ones often come with a list of ingredients I can barely pronounce! That’s why I absolutely adore making these homemade RAW VEGAN CHOCOLATE COVERED COCONUT BARS. They’re so rich, so satisfying, and honestly, they taste even better than I remember.
Why You’ll Love This RAW VEGAN CHOCOLATE COVERED COCONUT BARS
- They’re incredibly easy to make, no baking required! Just a little mixing and chilling.
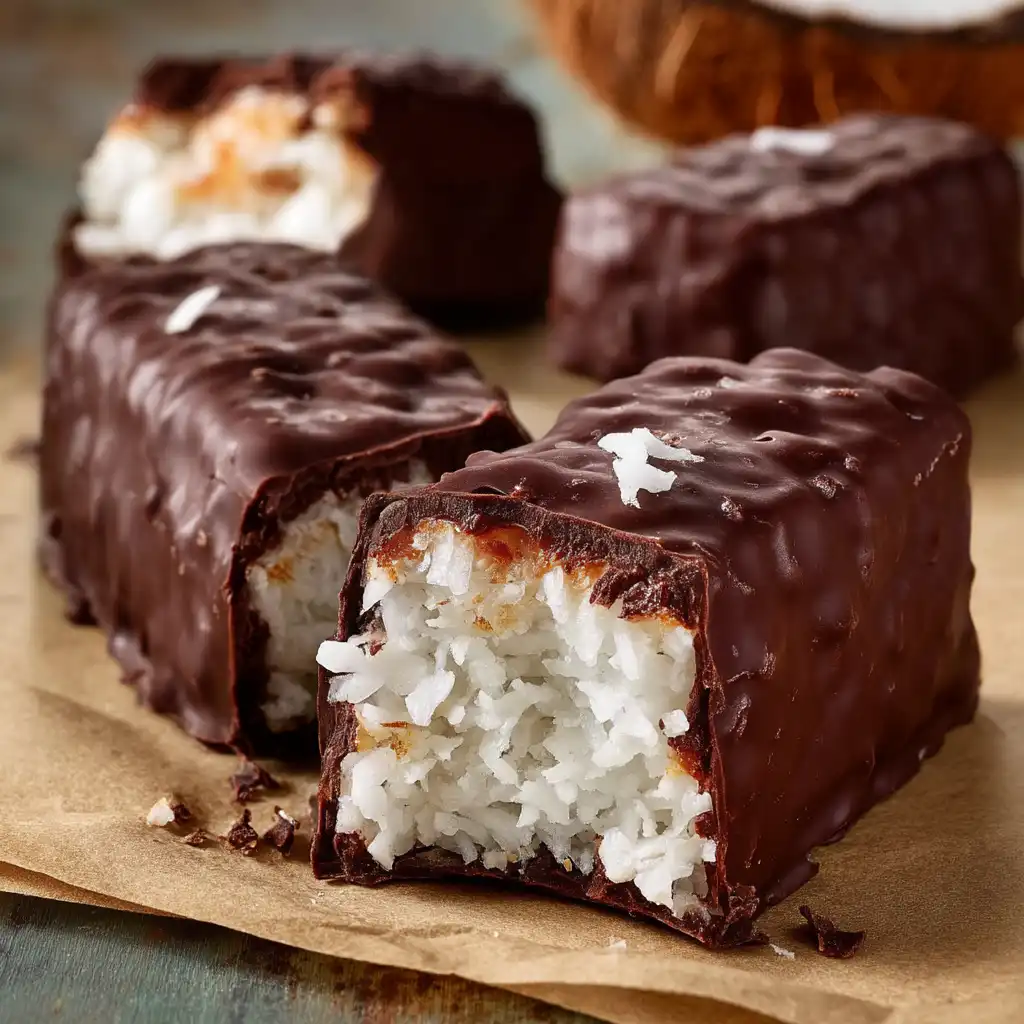
- The texture is out of this world – a firm, nutty base, a creamy, sweet coconut center, and a snappy chocolate shell.
- You can feel good about every bite. They’re made with wholesome, plant-based ingredients.
- Perfect for any occasion, from a simple afternoon pick-me-up to a fancy dessert for guests.
Ingredients You’ll Need
- Ground almonds: This forms the sturdy, flavorful base. You can make your own by blending blanched almonds until fine, or buy almond flour.
- Dessicated coconut: Essential for that classic coconut flavor and texture in both the base and the center. Make sure it’s unsweetened!
- Maple syrup: Our natural sweetener of choice. It adds a lovely depth of flavor without being overly sweet.
- Melted coconut oil: This is key for binding the layers and helping everything firm up beautifully in the fridge.
- Coconut cream: Get the full-fat kind, usually found in a can. Chill it overnight and scoop out the thick cream from the top – that’s the good stuff!
- Vanilla extract: A little splash enhances all the sweet flavors.
- Creamed coconut: This is different from coconut cream! It’s a solid block of concentrated coconut flesh, which adds richness and helps the center set.
- Cocoa powder: For that wonderfully dark, rich chocolate coating.
- Pinch of salt: Don’t skip this! It balances the sweetness and makes all the flavors pop.
How to Make RAW VEGAN CHOCOLATE COVERED COCONUT BARS Step by Step
First things first, let’s get our base ready. Line your 8×8 inch baking tray with baking paper. This makes it super easy to remove your bars later. In a bowl, combine your ground almonds, desiccated coconut, maple syrup, and melted coconut oil. Mix it all together until it looks like wet sand and holds together when you press it.
Now, press this mixture firmly into the bottom of your lined baking tray. You want a nice, even layer – this is your delicious foundation! Once it’s smooth and compact, pop it into the fridge for at least 30 minutes. This chilling time is important; it helps the base firm up before we add the next layer.
While your base is chilling, let’s prepare the creamy coconut center. In a clean bowl, combine the coconut cream, maple syrup, vanilla extract, desiccated coconut, creamed coconut, melted coconut oil, and that little pinch of salt. Stir everything really well until it’s beautifully combined and smooth. This is where the magic happens, creating that irresistible gooey center!
Once your base is firm, spread the coconut cream mixture over it with a spoon or spatula. Make sure it’s smooth and level. Then, back into the fridge it goes for at least 2 hours, or until it’s really firm. Don’t worry if it takes a little longer; patience here means perfectly set bars!
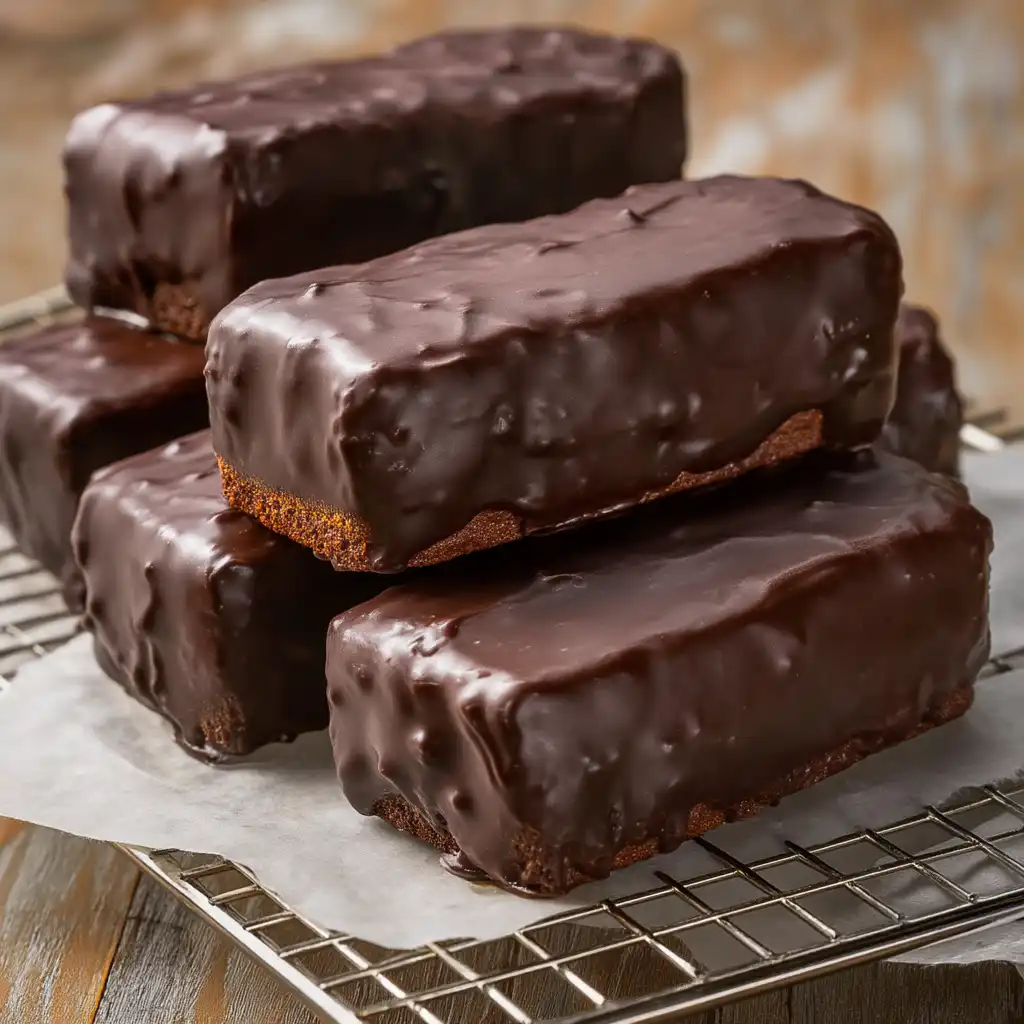
Finally, for the glorious chocolate shell! In a completely dry bowl (this is crucial, trust me!), whisk together your melted coconut oil, another pinch of salt, maple syrup, and cocoa powder. Keep mixing until it’s super smooth and looks like velvety melted chocolate. Once your coconut bar block is firm, take it out of the tray and cut it into your desired bar sizes. Place them on a wire rack set over a tray. Pour that chocolate mixture over each bar, letting the excess drip. The cold bars will make the chocolate set almost instantly. Transfer to a plate and chill for at least an hour to fully set. Then, enjoy your incredible chocolatey creation!
My Top Tips for Success
- I always make sure my coconut cream is well-chilled overnight. This helps separate the thick cream from the liquid, giving you that rich, dense center.
- In my experience, pressing the base layer really firmly makes for a much better bar that holds together beautifully.
- Trust me on this one: when making the chocolate shell, ensure your bowl and utensils are completely dry. Any water can cause the chocolate to seize up.
- Don’t rush the chilling times. Each layer needs to be firm before the next step to prevent everything from mixing.
- For neat cuts, use a sharp knife and wipe it clean between each slice when cutting the chilled bars.
Common Mistakes to Avoid
- Not chilling the coconut cream: If your coconut cream isn’t properly chilled, you won’t get enough thick cream for the center, leading to a softer, less firm filling. Make sure to chill it in the fridge for at least 12 hours.
- Not pressing the base firmly enough: A loose base will crumble easily. Ensure you really press it down into a compact layer.
- Water in the chocolate mixture: Even a tiny drop of water can cause the chocolate shell to become grainy or seize up. Always use completely dry bowls and utensils.
- Cutting before fully chilled: If you try to cut the bars before they are completely firm, they will be messy and difficult to handle. Patience is key!
- Overheating coconut oil: When melting coconut oil, use low heat or a double boiler. Overheating can change its properties and affect the texture of your bars.
How to Store RAW VEGAN CHOCOLATE COVERED COCONUT BARS
- Refrigerator: Store in an airtight container in the fridge for about 1 week.
- Freezer: Place in an airtight container or freezer bag. They keep well in the freezer for about 3-4 weeks. Just make sure they’re hidden well, or they might disappear faster!
Frequently Asked Questions
Can I use a different sweetener?
Maple syrup is recommended for its liquid consistency and flavor. If you want to experiment, you could try agave nectar, but the texture might vary slightly.
Do I have to use ground almonds?
Ground almonds create the best texture for the base. If you don’t have them, you could try using oat flour or another nut flour, but the flavor and consistency will change.
My chocolate shell isn’t smooth, what happened?
This usually happens if there was any moisture in your bowl or utensils when mixing the chocolate ingredients. Ensure everything is completely dry before combining.
Can I make these nut-free?
The base uses ground almonds, so to make them nut-free, you would need to substitute the ground almonds with an alternative like sunflower seed meal or oat flour. The flavor and texture will be different.
How do I get clean cuts?
Ensure the bars are very cold and firm before cutting. Use a sharp knife and wipe the blade clean with a warm, damp cloth between each cut for the neatest slices.
I hope these RAW VEGAN CHOCOLATE COVERED COCONUT BARS bring a little bit of sweet, chocolatey joy into your day. They’re such a simple yet satisfying treat, perfect for sharing (or keeping all to yourself!). If you give them a try, I’d absolutely love to hear how they turned out for you!
PrintRAW VEGAN CHOCOLATE COVERED COCONUT BARS
Indulge in these rich, no-bake layered bars featuring a nutty base, creamy coconut center, and a snappy chocolate shell.
- Prep Time: 45
- Total Time: 255
- Yield: 12-16 bars
- Category: Dessert
- Method: No-Bake
- Cuisine: American
- Diet: Vegan
Ingredients
- 1 cup ground almonds
- 1 cup dessicated coconut
- 1/4 cup maple syrup
- 1/4 cup melted coconut oil
- 3 cups coconut cream
- 3/8 – 1/2 cup maple syrup
- 2 tsp vanilla extract
- 1 1/2 cup dessicated coconut
- 1/2 cup creamed coconut
- 1/4 cup melted coconut oil
- pinch of salt
- 1 cup melted coconut oil
- pinch of salt
- 1/2 cup maple syrup
- 1 1/2 cup cocoa powder
Instructions
- Line an 8×8 inch (21×21 cm) baking tray with baking or greaseproof paper.
- In a bowl, combine the ground almonds, 1 cup desiccated coconut, 1/4 cup maple syrup, and 1/4 cup melted coconut oil.
- Mix until all ingredients are evenly distributed.
- Press the coconut almond mixture firmly into the lined baking tray to form a compact, even layer.
- Refrigerate the base for at least 30 minutes, or until firm.
- In a separate bowl, combine the coconut cream, 3/8 – 1/2 cup maple syrup, vanilla extract, 1 1/2 cup desiccated coconut, creamed coconut, 1/4 cup melted coconut oil, and a pinch of salt.
- Mix all coconut cream centre ingredients well until combined.
- Taste and adjust sweetness if desired.
- Transfer the coconut cream mixture onto the firmed coconut almond base.
- Using a spoon or spatula, smooth out the coconut cream mixture to create a level top.
- Refrigerate the layered bars for at least 2 hours, or until completely firm.
- In a completely dry bowl, combine 1 cup melted coconut oil, a pinch of salt, 1/2 cup maple syrup, and 1 1/2 cup cocoa powder.
- Mix well until you achieve a smooth mixture with a melted chocolate consistency.
- Remove the firm coconut bar block from the fridge and lift it out of the baking tray using the paper.
- Cut the block into evenly sized pieces or bars.
- Position a wire rack over another baking tray or a rimmed plate.
- Place the cut coconut bars onto the wire rack.
- Pour the chocolate shell mixture evenly over the coconut bars, allowing any excess chocolate to drip onto the tray below.
- Immediately transfer the chocolate-covered bars onto a clean plate.
- Refrigerate the bars for at least 1 hour, or until the chocolate shell is completely set.
- Serve and enjoy!
Notes
Always use full-fat coconut cream for the best results; chill it overnight to easily scoop out the thick cream.
Ensure all bowls and utensils are completely dry when preparing the chocolate shell to prevent seizing.
Press the base layer very firmly into the tray to ensure it holds together well.
For clean cuts, use a sharp knife and wipe it between each slice after the bars are fully chilled.


