
There’s nothing quite like the smell of freshly baked bread wafting through the kitchen, is there? For years, I thought that was a joy I’d lost when I went gluten-free. Store-bought options just never hit the spot – they were often dry, crumbly, or dense. But then, after lots of experimenting, I finally cracked the code to making the most amazing, soft, and fluffy Gluten Free White Bread right at home. This recipe isn’t just a substitute; it’s a celebration, and it means so much to me to share it with you.
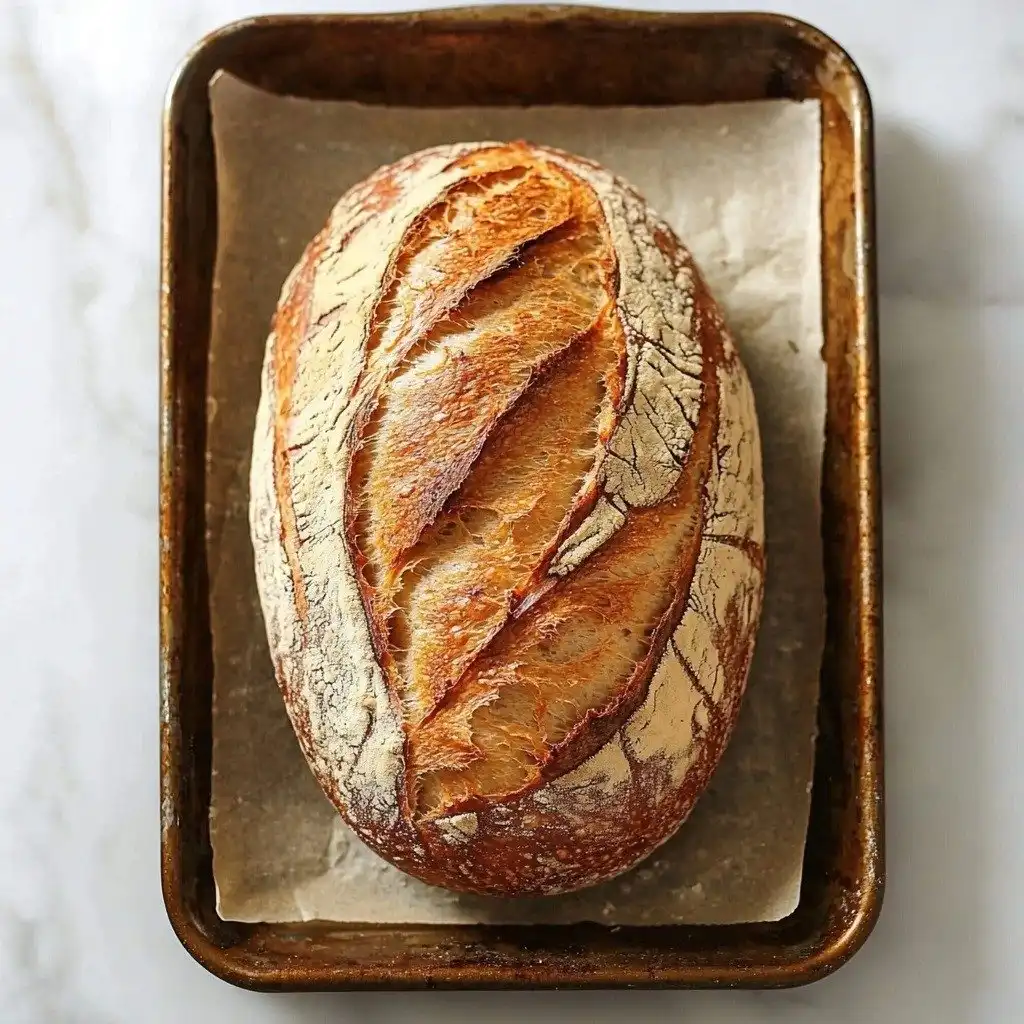
Why You’ll Love This Gluten Free White Bread
- It’s incredibly soft and has that perfect chewy crumb, just like traditional white bread.
- No more dry, crumbly gluten-free loaves! This one stays fresh for days.
- It’s surprisingly easy to make, even if you’re new to gluten-free baking.
- It’s perfect for sandwiches, toast, or just tearing off a piece and enjoying it plain!
Ingredients You’ll Need
- Psyllium Husk: This is a gluten-free baker’s secret weapon! It helps bind the dough and gives it that lovely elasticity. If you only have psyllium husk powder, use a little less, about 17g.
- Tapioca Starch: This gives the bread a wonderful chewiness and helps with that soft, airy texture. You can easily swap it for cornstarch, potato starch, or arrowroot starch if that’s what you have.
- Millet Flour: A fantastic neutral-tasting gluten-free flour that contributes to the bread’s structure. Finely milled brown rice flour works beautifully as a substitute.
- Sorghum Flour: This adds a touch of sweetness and helps create a tender crumb. Light buckwheat flour, white teff flour, or even oat flour (if you’re not sensitive to oats) are good alternatives.
- Instant Yeast: This is the quick and easy kind of yeast. If you’re using active dry yeast, you’ll just need to activate it first with a little warm water and sugar before adding it to the rest of your ingredients.
- Apple Cider Vinegar: Don’t skip this! It helps activate the yeast and gives the bread a better rise and texture.
How to Make Gluten Free White Bread Step by Step
First things first, we’re going to make our psyllium gel. Grab a bowl and mix your psyllium husk with the lukewarm water. Give it a good stir, and then watch the magic happen! In less than a minute, it will thicken into a gel-like consistency. This is super important because it acts like the gluten in traditional bread, giving our loaf structure.
Next, in a big bowl (or your stand mixer bowl if you’re using one), whisk together all your dry ingredients: the tapioca starch, millet flour, sorghum flour, sugar, salt, and instant yeast. If you’re using active dry yeast, remember to activate it separately first. Once your dry ingredients are mixed, make a little well in the center. Pour in your psyllium gel, olive oil, and apple cider vinegar. Now, it’s time to knead! Whether by hand or mixer, keep going until everything is smooth and combined. Don’t worry if it sticks to your hands a bit during kneading; the final dough shouldn’t be sticky when you gently touch it with clean hands. Resist the urge to add more flour, trust me on this one!
Once your dough is lovely and smooth, you’ll turn it out onto a lightly floured surface. We’re going to roll it into a rectangle, about 11 inches long and 7-8 inches wide. Then, gently fold it over itself, working along the wider end, and press down to seal as you roll it into a log. Pinch the seam really well to seal it up. Transfer your beautiful loaf, seam-side down, to a baking sheet lined with parchment paper. Lightly cover it with plastic wrap and let it proof in a warm spot until it doubles in size. This usually takes about an hour. If your kitchen is cool, a little trick is to put a cup of boiling water in your turned-off oven – it creates the perfect cozy proofing environment!
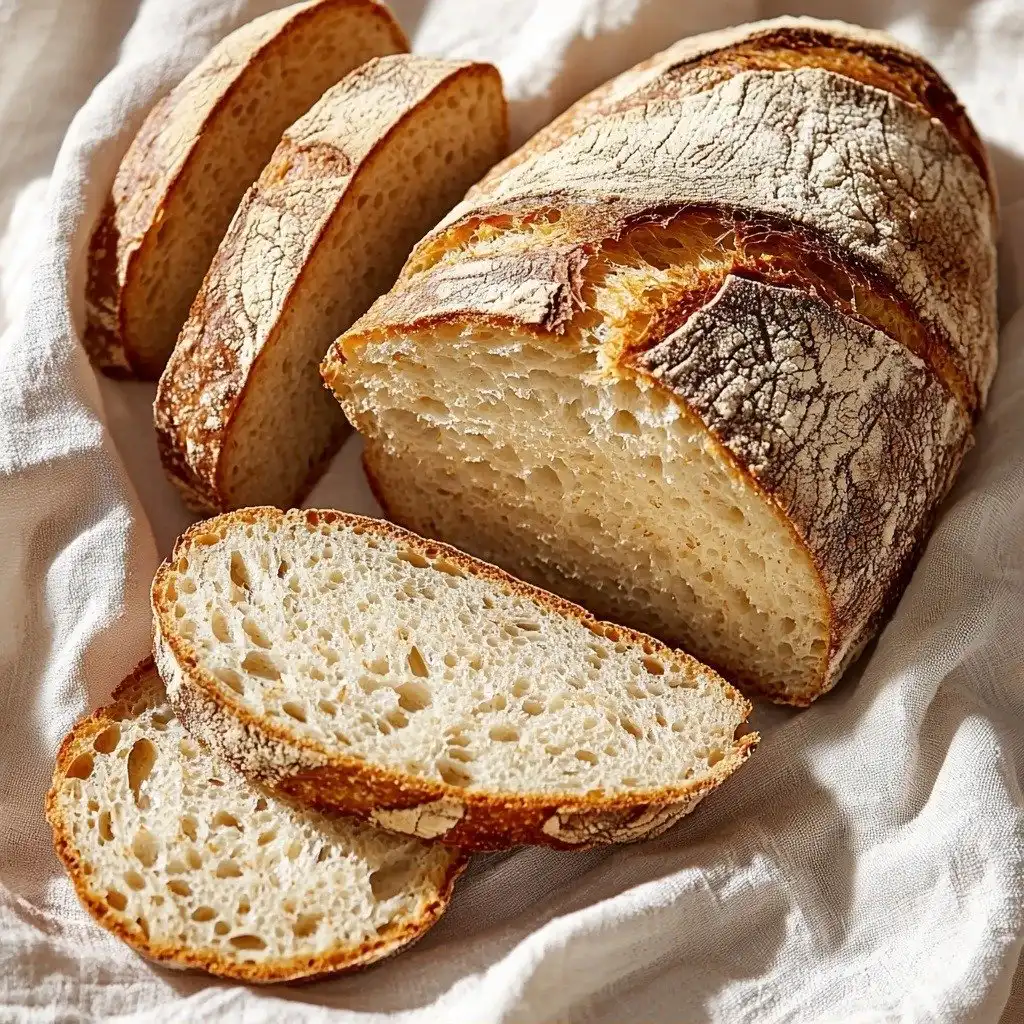
My Top Tips for Success
- I always make sure my psyllium husk forms a good gel before adding it to the dry ingredients; it makes all the difference.
- In my experience, thoroughly preheating the oven is crucial for a great rise, so start it after your bread has been proofing for about 30 minutes.
- Trust me on this one: use a heavy-duty baking tray or cast iron skillet on the bottom of your oven for steam, but never glass – it could shatter with the ice cubes!
- Don’t be tempted to open the oven door during the first 15 minutes of baking; that steam is vital for a good crust and rise.
- I know it’s hard, but cooling the bread completely on a wire rack before slicing is essential to prevent a gummy crumb. Patience is a virtue here!
Common Mistakes to Avoid
- Adding too much flour: This is a common pitfall. If you add extra flour, your bread can become dense and dry. Stick to the recipe amounts!
- Not proofing long enough: If your loaf doesn’t double in size, it won’t rise properly in the oven. Give it the full hour, or more if your kitchen is cool.
- Cutting into hot bread: I know, it smells amazing! But if you slice it while it’s still hot, the crumb will be sticky and gummy. Let it cool down to at least lukewarm.
- Using a glass baking tray for steam: Glass can shatter when ice cubes are added to a hot tray. Always use cast iron or a metal baking tray for generating steam.
How to Store Gluten Free White Bread
- Countertop: 3-4 days in a bread box, paper bag, or wrapped in a clean dish towel in a cool, dry place.
- Toasting: I recommend toasting slices on days 3 and 4 to bring back that fresh-baked feel.
Frequently Asked Questions
Can I use active dry yeast instead of instant yeast?
Yes, you can! You’ll need to activate it first by mixing it with the sugar and 120g (½ cup) of the lukewarm water from the recipe, then let it sit for 5-10 minutes until frothy. Then, add it with the wet ingredients.
Why do I need psyllium husk?
Psyllium husk is key in gluten-free baking because it acts as a binder, mimicking the elasticity of gluten. It helps give the bread its structure and prevents it from being crumbly.
Why do I need to add ice cubes to the oven?
Adding ice cubes to a hot tray in the oven creates steam, which is crucial for a good crust and helps the bread rise beautifully without cracking too much.
Can I freeze this bread?
While the recipe doesn’t specify freezing, most gluten-free breads freeze well. Slice it first, then freeze in an airtight container or bag for best results, and toast directly from frozen.
My bread is dense, what went wrong?
A dense loaf often means too much flour was added, or it wasn’t proofed long enough. Make sure to accurately measure your ingredients and allow the dough to fully double in size during proofing.
I really hope this Gluten Free White Bread brings a smile to your face and fills your home with that wonderful aroma. It’s truly a game-changer for gluten-free baking, and I can’t wait for you to try it! If you bake a loaf, please let me know how it turns out – I love hearing from you!
PrintGluten Free White Bread

A truly soft, fluffy, and delicious gluten-free white bread that’s easy to make and perfect for sandwiches and toast.
- Prep Time: 20
- Cook Time: 45
- Total Time: 105
- Yield: 1 loaf (approx. 12 slices)
- Category: Baking
- Method: Baking
- Cuisine: American
- Diet: Gluten-Free
Ingredients
- 20 g (4 tbsp) whole/rough psyllium husk
- 360 g (1½ cups) lukewarm water
- 145 g (1¼ cups) tapioca starch
- 145 g (1 cup + 1 tbsp) millet flour
- 50 g (⅓ cup + 1 tbsp) sorghum flour
- 15 g (1 tbsp) caster/superfine or granulated sugar
- 8 g (1½ tsp) salt
- 6 g (2 tsp) instant yeast
- 15 g (1 tbsp) olive oil
- 8 g (1½ tsp) apple cider vinegar
- 1 US large/UK medium egg white, whisked
Instructions
- Make the psyllium gel: In a bowl, mix together the psyllium husk and lukewarm water.
- Stir until a gel forms, which takes about 30-45 seconds.
- In a large bowl or the bowl of a stand mixer, whisk together the tapioca starch, millet flour, sorghum flour, sugar, salt, and instant yeast.
- Make a well in the middle of the dry ingredients.
- Add the psyllium gel, olive oil, and apple cider vinegar to the well.
- Knead the dough until it's smooth and all ingredients are evenly incorporated.
- Use a rubber spatula to scrape the sides and bottom of the bowl occasionally to prevent dry patches.
- Ensure the final dough is smooth, supple, and comes away from the sides of the mixing bowl.
- Lightly flour a surface for shaping.
- Turn out the dough onto the lightly floured surface.
- Roll the dough out into a rough rectangle, about 11 inches (28cm) long and 7-8 inches (18-20cm) wide.
- Working along the wider end, fold the dough over itself.
- Press down gently to seal the fold.
- Continue folding the dough over itself, pressing down to seal, to form a log.
- Pinch the seam together to seal it completely.
- Transfer the rolled-up dough, seam side down, to a large baking sheet lined with parchment paper.
- Lightly cover the loaf with a sheet of plastic wrap to prevent drying out.
- Proof the loaf in a warm spot until it has doubled in size, which should take about 1 hour.
- Adjust the oven rack to the lower middle position.
- Place a cast iron skillet or heavy-duty baking tray (not glass) on the bottom of the oven.
- Preheat the oven to 425ºF (220ºC), starting after the bread has been proofing for about 30 minutes.
- Once the loaf has doubled in size, gently brush it with the whisked egg white.
- Use a bread lame or a sharp knife to score the loaf with 5-7 diagonal slashes.
- Place the loaf into the oven on the lower middle oven rack.
- Place 5-6 ice cubes into the bottom skillet or baking tray.
- Close the oven door immediately.
- Reduce the oven temperature to 400ºF (200ºC).
- Bake the loaf at 400ºF (200ºC) with steam for 15 minutes.
- Do not open the oven door during this 15-minute period.
- Carefully remove the bottom skillet or baking tray.
- Close the oven door.
- Bake for an additional 25-30 minutes longer, or until the bread is golden brown.
- Remove the bread from the oven.
- Cool the bread on a wire rack until it is at least lukewarm before slicing.
Notes
Always allow the bread to cool to at least lukewarm before slicing to prevent a gummy texture.
Use a kitchen scale for accurate measurements, especially for flours and psyllium husk.
For a warm proofing environment, place a cup of boiling water in your turned-off oven with the dough.
Ensure your oven is thoroughly preheated for the best oven spring and rise.


