
There’s just something magical about a dessert that feels fancy but is secretly super easy to make. For years, I’ve been a huge fan of no-bake cheesecakes because they’re perfect for when you want something delicious without turning on the oven. These No Bake Mini Biscoff Cheesecakes are my latest obsession, and for good reason! They’re creamy, dreamy, and packed with that irresistible spiced cookie flavor that everyone loves. They’ve quickly become a go-to for bringing to potlucks or just having a little sweet treat ready in the fridge.
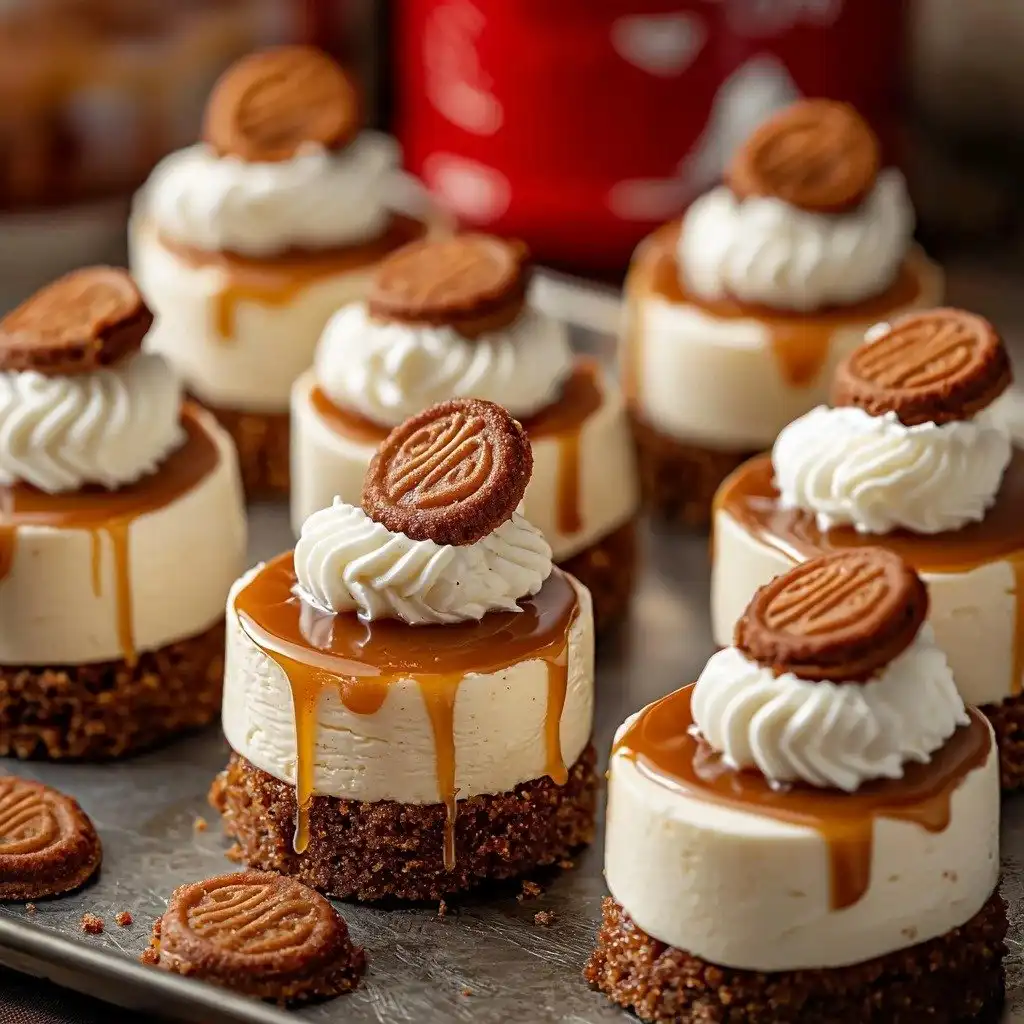
Why You’ll Love This No Bake Mini Biscoff Cheesecakes
- They’re incredibly easy to make – seriously, no baking required!
- The texture is unbelievably creamy and smooth, with a perfect crunchy crust.
- That unique Biscoff flavor is just so comforting and delicious.
- They’re mini, which means perfect individual portions for sharing (or not!).
Ingredients You’ll Need
- Biscoff cookies: These are the star of the show! They make the most wonderfully spiced and crunchy crust. Don’t substitute these if you want that true Biscoff flavor.
- Unsalted butter: This binds the cookie crumbs together for the crust. Using unsalted butter lets you control the saltiness of the dessert.
- Heavy cream: Make sure it’s very cold! This is crucial for whipping it up into stiff peaks, which gives the cheesecake its light, airy texture.
- Full-fat cream cheese: Softened to room temperature is key here. It mixes smoothly and prevents lumps in your filling. Don’t use low-fat cream cheese; it won’t set as well.
- Powdered sugar: Also known as confectioners’ sugar. It dissolves easily, giving a smooth, lump-free filling without a grainy texture.
- Creamy Biscoff cookie butter: This is what infuses that amazing Biscoff flavor throughout the cheesecake. Make sure it’s the creamy kind!
- Sour cream: Brought to room temperature, it adds a lovely tang and extra creaminess to the filling, balancing the sweetness.
- Pure vanilla extract: A little bit goes a long way to enhance all the other flavors.
- Pinch of salt: Don’t skip this! Salt brings out the sweetness and complexity of the other ingredients.
How to Make No Bake Mini Biscoff Cheesecakes Step by Step
First things first, let’s get that amazing crust ready. Grab your Biscoff cookies and blitz them in a food processor until they’re super fine crumbs. Then, stream in your melted butter while the processor is running until everything is just combined. It should look sandy, but if you pinch a bit, it’ll hold together. This is where the magic starts!
Lightly spray your mini cheesecake pans or line muffin pans with cupcake liners – this just makes them easier to get out later. Press about a tablespoon of the cookie mixture into the bottom of each cavity. Pop them into the freezer or fridge while you move on to the creamy filling. This chilling step helps the crust set up nicely.
Now for the filling! You’ll want to whip your cold heavy cream in a chilled bowl until you get beautiful stiff peaks. Be careful not to over-beat it, or it can turn grainy. Set that aside in the fridge. In another bowl, beat together your softened cream cheese, powdered sugar, Biscoff cookie butter, room temperature sour cream, vanilla, and salt until it’s completely smooth and wonderfully combined. Finally, gently fold in that whipped cream with a rubber spatula until there are no white streaks left. Spoon this dreamy filling into a piping bag and pipe it onto your chilled crusts. Smooth the tops for a pretty finish, and then the hardest part: refrigerate for at least 6 hours, or even better, overnight!
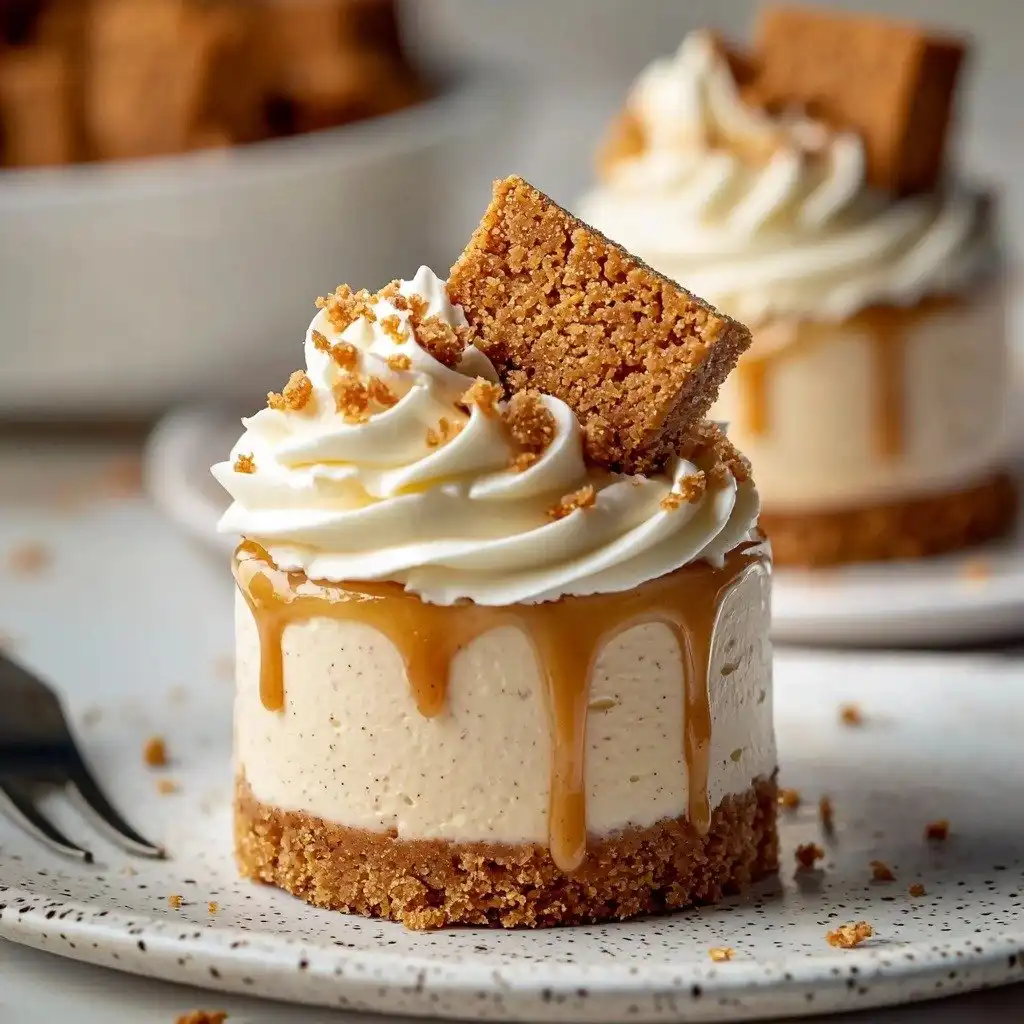
My Top Tips for Success
- I always make sure my cream cheese and sour cream are at room temperature. This is key for a super smooth, lump-free filling.
- Chilling your mixing bowl and whisk for the heavy cream makes a huge difference in getting those stiff peaks quickly.
- Don’t overmix the heavy cream; it can go from perfect to grainy very fast. Stop when you see firm peaks!
- Trust me on this one: let the cheesecakes chill for the full 6 hours, or even overnight. It makes them firm and incredibly delicious.
- When melting the Biscoff spread for the topping, microwave it in short bursts (15-20 seconds) and stir in between to prevent overheating.
- A piping bag makes filling the mini cheesecakes so much neater and easier, but a spoon works too!
Common Mistakes to Avoid
- Not softening cream cheese: This will lead to a lumpy filling. Always let your cream cheese come to room temperature.
- Over-beating heavy cream: Whipped cream can turn into butter if beaten too long. Stop as soon as stiff peaks form.
- Not chilling the crust: A warm crust can make it difficult to press and can crumble when you add the filling. Always chill it!
- Not chilling the cheesecakes long enough: If you cut into them too soon, they’ll be too soft and won’t hold their shape. Patience is a virtue here!
- Using low-fat cream cheese: This can result in a filling that doesn’t set properly and lacks the rich, creamy texture. Stick to full-fat.
How to Store No Bake Mini Biscoff Cheesecakes
- Refrigerator: Keep them covered loosely in the refrigerator for up to 3-4 days.
- Freezer: For longer storage, freeze the cheesecakes (without the melted Biscoff topping or whipped cream garnish) on a baking sheet until solid. Then transfer them to an airtight container or freezer bag for up to 1 month. Thaw in the refrigerator before serving.
Frequently Asked Questions
Can I use a different type of cookie for the crust?
Yes, you can! Graham crackers or digestive biscuits would be good alternatives, but the Biscoff cookies give these cheesecakes their signature flavor.
Do I have to use mini cheesecake pans?
Not at all! A 12-count muffin pan lined with cupcake liners works perfectly, or you could even make a single large no-bake cheesecake in an 8-inch springform pan.
Can I make these ahead of time?
Absolutely! These cheesecakes are perfect for making ahead. The flavor actually deepens and the texture improves after a full night in the fridge.
Why is my filling lumpy?
This usually happens if your cream cheese wasn’t soft enough. Make sure it’s at room temperature before you start mixing to ensure a smooth consistency.
Can I skip the Biscoff topping?
You can, but it adds another layer of delicious Biscoff flavor and a lovely visual appeal. You could also drizzle with caramel or chocolate sauce instead.
I hope these No Bake Mini Biscoff Cheesecakes bring a little bit of joy and a whole lot of deliciousness to your kitchen. They’re truly a favorite around here, and I can’t wait for you to try them. If you whip up a batch, please let me know how they turn out!
PrintNo Bake Mini Biscoff Cheesecakes
Creamy, dreamy, and easy-to-make mini cheesecakes bursting with irresistible Biscoff cookie flavor, perfect for any occasion.
- Prep Time: 30
- Total Time: 390
- Yield: 12 mini cheesecakes
- Category: Dessert
- Method: No-Bake
- Cuisine: American
- Diet: Vegetarian
Ingredients
- 1 (8.8 oz, 250g) package Biscoff cookies
- 1/2 cup melted unsalted butter
- 1 cup cold heavy cream
- 3 (8 oz. blocks) full-fat cream cheese, softened to room temperature
- 1 cup powdered sugar
- 1 cup creamy Biscoff cookie butter
- 1/3 cup room temperature sour cream
- 2 tsp. pure vanilla extract
- pinch of salt
- 1/2 cup creamy Biscoff cookie butter (for topping)
- additional Biscoff cookies for garnish (whole or crushed)
- whipped cream (for garnish)
Instructions
- Blitz the Biscoff cookies in a food processor until finely ground.
- Stream in the melted butter until combined.
- Spray 2 mini cheesecake pans with non-stick spray, or line 2, 12-count muffin pans with cupcake liners.
- Press approximately 1 tablespoon of the crumb mixture into each cavity.
- Freeze or refrigerate the crusts while preparing the filling.
- Beat the cold heavy cream in a medium-sized chilled mixing bowl until stiff peaks form (about 2 minutes).
- Place the whipped cream in the fridge.
- In another medium-large mixing bowl, beat the softened cream cheese, powdered sugar, Biscoff cookie butter, room temperature sour cream, vanilla, and salt until smooth and fully combined.
- Gently fold in the whipped cream with a rubber spatula until no white streaks remain.
- Spoon the filling into a piping bag fitted with a round 1A tip.
- Pipe the filling onto the chilled crusts.
- Smooth the tops of the cheesecakes into an even layer.
- Refrigerate the cheesecakes for 6 hours or overnight (loosely covered).
- Melt the 1/2 cup Biscoff spread for topping in the microwave for about 20-30 seconds until melty.
- Spread the melted Biscoff topping on top of the cheesecakes (it can drip down the sides).
- Place the cheesecakes back in the fridge for about 15-20 minutes until the topping is set.
- Garnish with additional Biscoff cookies (whole or crushed) and whipped cream, if desired.
- Serve and enjoy!
Notes
Ensure all dairy ingredients (cream cheese, sour cream) are at room temperature for a smooth filling.
Chill your mixing bowl and whisk before whipping heavy cream for best results.
Do not over-beat the heavy cream; stop as soon as stiff peaks form.
Allow cheesecakes to chill for at least 6 hours, or overnight, for optimal setting and flavor.


