
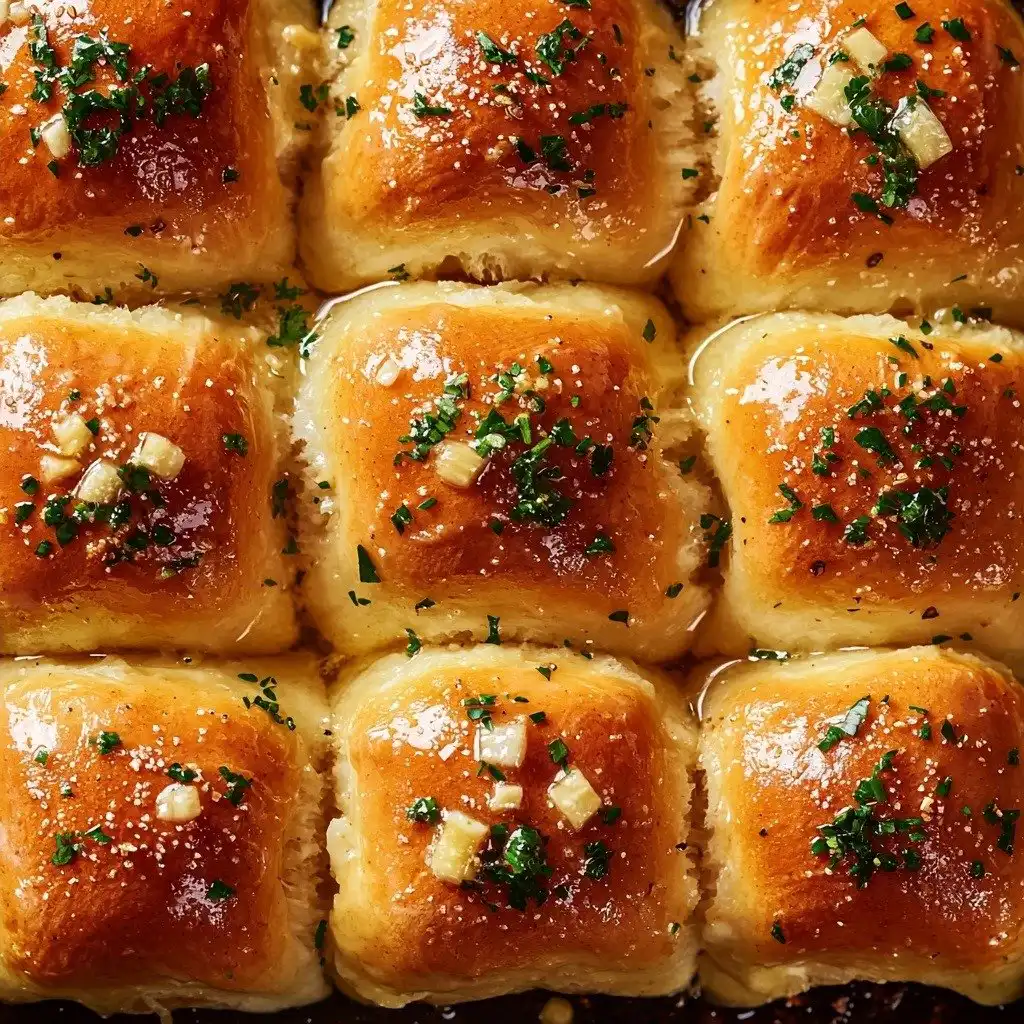
There’s just something about warm, homemade bread that instantly makes a house feel like a home, isn’t there? For me, these Garlic Bread Rolls are pure comfort. I still remember the first time I made them; the smell of garlic and yeast filling the kitchen was absolutely intoxicating. They disappeared so fast, and now they’re a regular request for family dinners and potlucks. They’re soft, garlicky, and just perfect for soaking up any delicious sauce!
Why You’ll Love This Garlic Bread Rolls
- These rolls are incredibly soft and fluffy, with that perfect pull-apart texture.
- They’re packed with amazing garlic flavor, both inside and out – a true garlic lover’s dream!
- Making them from scratch is so satisfying, and easier than you might think.
- They’re wonderful for any meal, from a casual weeknight dinner to a special holiday spread.
Ingredients You’ll Need
- All-purpose flour: This is the backbone of our rolls, giving them structure. Make sure to measure it correctly!
- Instant yeast: This little helper makes our dough rise beautifully. No need to activate it separately!
- Whole or 2% milk: Warmed milk helps activate the yeast and keeps the rolls tender. Dairy-free milk might work, but I haven’t tested it.
- Unsalted butter: We use butter in the dough and for that incredible garlic topping. Using unsalted gives us control over the saltiness.
- Fresh parsley: Adds a lovely pop of color and fresh herby flavor to the dough and the topping. Don’t skip it!
How to Make Garlic Bread Rolls Step by Step
First things first, let’s get our pan ready. Grab a 9×13 inch pan and lightly butter the bottom and sides. This helps prevent sticking and adds a little extra richness to the crust.
Next, we’ll start our garlic infusion for the dough. In a small pot, melt 4 1/2 tablespoons of butter and add 2 tablespoons of minced garlic. Cook this over low heat for just 1-2 minutes until you can smell that amazing garlic aroma. Then, take it off the heat and let it cool down while you gather your other ingredients. This step is where the magic starts!
Now, in your stand mixer bowl, combine your dry ingredients: flour, parsley, sugar, yeast, and salt. Give them a quick stir. Then, add the warmed milk, the room temperature egg, and that lovely cooled garlic butter mixture. Attach your dough hook and knead on low speed for about 10-12 minutes. You’re looking for a smooth, soft, and slightly tacky dough. Don’t worry if it seems a little sticky at first; you can add one tablespoon of flour at a time if needed until it’s workable.
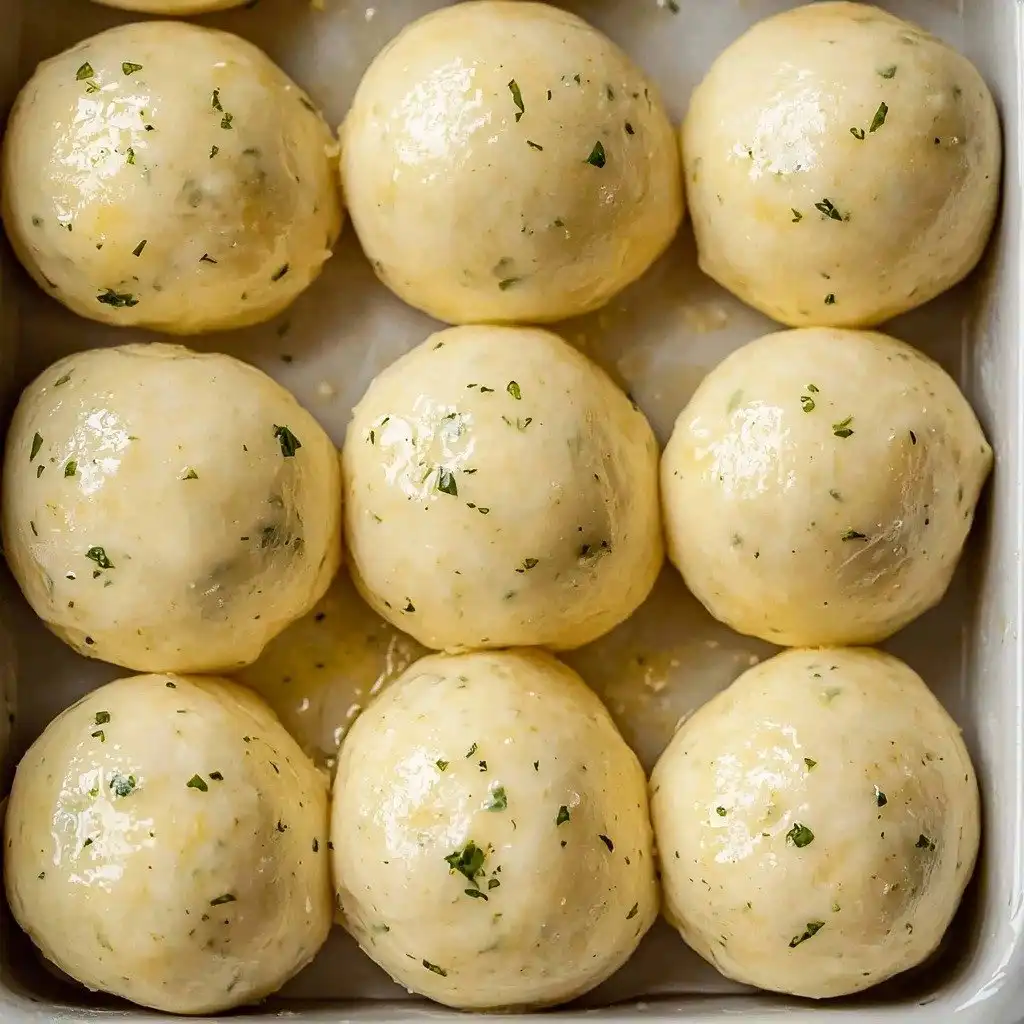
Once your dough is perfectly kneaded, it’s time to shape our rolls! Divide the dough into 12 equal portions. I like to use a kitchen scale to make sure they’re all about 67 grams each for even baking. Take each piece and shape it into a smooth ball, pinching the bottom seam tightly to keep its shape. Place these dough balls into your prepared pan. Cover the pan with plastic wrap or a clean kitchen towel and let them rise in a warm spot for 1-2 hours until they’ve doubled in size. This is a crucial step for those fluffy rolls!
While your rolls are rising, you can preheat your oven to 350°F (180°C). Once they’ve risen, brush the tops with a beaten egg wash – this gives them that beautiful golden-brown crust. Bake them for 20-30 minutes, or until they’re golden and sound hollow when tapped. While they’re baking, quickly whip up the finishing garlic butter by melting 2 tablespoons of butter with 1 tablespoon of minced garlic for 1-2 minutes, then stir in 1 tablespoon of parsley. As soon as the rolls come out of the oven, brush them generously with this fragrant garlic butter and sprinkle with flaky sea salt. Serve them warm and enjoy!
My Top Tips for Success
- I always warm my milk to 110°F (43°C) – it’s the perfect temperature to get the yeast active without killing it.
- Trust me on this one: use a kitchen scale to divide your dough. It ensures all your rolls bake evenly and look consistent.
- Don’t rush the rising time! A warm, draft-free spot is key for your dough to double in size and become super fluffy.
- Brushing with egg wash before baking gives these rolls a gorgeous, shiny golden crust that really makes them look professional.
- Brush the warm garlic butter on immediately after baking. The hot rolls will soak up all that delicious flavor!
Common Mistakes to Avoid
- Over-flouring the dough: Adding too much flour can lead to dry, dense rolls. Only add extra flour if the dough is excessively sticky and unmanageable after kneading for the full time.
- Not warming the milk enough (or too much): If the milk is too cold, the yeast won’t activate. If it’s too hot, it will kill the yeast. Aim for 110°F (43°C) – it should feel comfortably warm, not hot.
- Under-kneading the dough: The dough needs enough kneading to develop gluten, which gives the rolls their structure and chewiness. Knead for the full 10-12 minutes until it’s smooth and elastic.
- Under-rising the dough: If the dough doesn’t double in size, your rolls will be dense. Give them ample time in a warm spot to rise properly.
How to Store Garlic Bread Rolls
- Room Temperature: 2-3 days in an airtight container or bag.
- Freezer: Up to 2-3 months. Wrap cooled rolls tightly in plastic wrap, then aluminum foil. Reheat from frozen in a 300°F (150°C) oven until warmed through.
Frequently Asked Questions
Can I make these ahead of time?
Yes, you can prepare the dough up to the point of the first rise, then punch it down, cover it, and refrigerate it overnight. Let it come to room temperature and rise again before shaping and baking.
What if I don’t have instant yeast?
If you only have active dry yeast, you’ll need to activate it first. Dissolve it in the warm milk with a pinch of sugar for 5-10 minutes until foamy, then proceed with the recipe.
Why are my rolls dense?
Dense rolls are often a result of either not enough yeast activity (milk too cold or hot), over-flouring the dough, or not allowing the dough to rise enough.
Can I add cheese to these rolls?
Absolutely! You can sprinkle some shredded Parmesan or mozzarella over the rolls during the last 5-10 minutes of baking for a cheesy garlic kick.
Can I use dried parsley instead of fresh?
While fresh parsley offers the best flavor and color, you can substitute dried parsley. Use about 1 tablespoon for the dough and 1 teaspoon for the garlic butter topping.
I genuinely hope these Garlic Bread Rolls bring a little extra warmth and deliciousness to your table. They’re such a joy to make and even more of a joy to eat! Give them a try, and let me know how they turn out in your kitchen!
PrintGarlic Bread Rolls
Soft, fluffy homemade rolls infused with garlic and topped with a savory garlic butter and fresh parsley.
- Prep Time: 25
- Cook Time: 30
- Total Time: 175
- Yield: 12 rolls
- Category: Bread, Side Dish
- Method: Baking
- Cuisine: American
- Diet: Vegetarian
Ingredients
- 4 1/2 tablespoons unsalted butter
- 2 tablespoons minced garlic
- 3 1/2 cups + 1 tablespoon all-purpose flour
- 3 tablespoons chopped fresh parsley
- 1 tablespoon granulated sugar
- 2 1/4 teaspoons instant yeast
- 1 teaspoon fine sea salt
- 1 cup whole or 2% milk warmed to 110°F
- 1 large egg room temperature
- 1 beaten egg, for brushing the tops
- For the Garlic Butter:
- 2 tablespoons unsalted butter
- 1 tablespoon minced garlic
- 1 tablespoon chopped fresh parsley
- flaky sea salt for finishing
Instructions
- Lightly butter the bottom and sides of a 9×13 inch pan.
- Set the prepared pan aside.
- In a small pot, melt 4 1/2 tablespoons of unsalted butter.
- Add 2 tablespoons of minced garlic to the melted butter.
- Cook for 1-2 minutes until the garlic is fragrant.
- Remove the pot from the heat and allow the garlic butter to cool.
- In a stand mixing bowl, combine 3 1/2 cups of all-purpose flour, 3 tablespoons of chopped fresh parsley, 1 tablespoon of granulated sugar, 2 1/4 teaspoons of instant yeast, and 1 teaspoon of fine sea salt.
- Add 1 cup of warmed whole or 2% milk (110°F) to the dry ingredients.
- Add 1 large room temperature egg to the mixture.
- Add the cooled garlic butter from the small pot to the mixture.
- Attach the dough hook to your stand mixer.
- Knead on low speed for 10-12 minutes until the dough looks smooth and feels soft and tacky.
- If the dough is too sticky, add 1 tablespoon of all-purpose flour at a time until the dough is workable.
- Cut the kneaded dough into 12 equal portions (approximately 67 grams each).
- Shape each piece of dough into a smooth ball with your hand.
- Pinch the bottom of each roll where the seam comes together to keep it tight.
- Place the shaped dough balls into the prepared baking pan.
- Cover the top of the pan with plastic wrap or a clean kitchen towel.
- Set the pan in a warm place to rise until the rolls have doubled in size, about 1-2 hours.
- Preheat the oven to 350°F (180°C).
- Brush the tops of the risen rolls with the beaten egg.
- Bake the rolls for 20-30 minutes, or until the tops are golden brown.
- While the rolls are baking, make the garlic butter topping.
- Melt 2 tablespoons of unsalted butter in a pot.
- Add 1 tablespoon of minced garlic to the melted butter.
- Remove the pot from the heat.
- Stir in 1 tablespoon of chopped fresh parsley.
- When the rolls come out of the oven, immediately brush them generously with the prepared garlic butter topping.
- Sprinkle with flaky sea salt, if desired.
- Serve warm.
Notes
Ensure your milk is exactly 110°F (43°C) for optimal yeast activation.
Measure your flour correctly by spooning it into the measuring cup and leveling it off.
Use a kitchen scale to divide the dough evenly for consistent roll sizes.
Don’t skip the egg wash; it gives the rolls a beautiful golden-brown crust.


