
The holidays always bring out the baker in me, and there’s just something extra magical about Christmas cookies. For years, I’ve loved making cheerful treats, but finding something truly unique and fun for the kids (and, let’s be honest, for me!) can be a challenge. That’s when I discovered these adorable Stacked Sugar Cookie Christmas Trees. They’ve become a beloved tradition, bringing smiles and a little bit of edible holiday cheer to our home every year. They’re super fun to assemble and absolutely delicious!
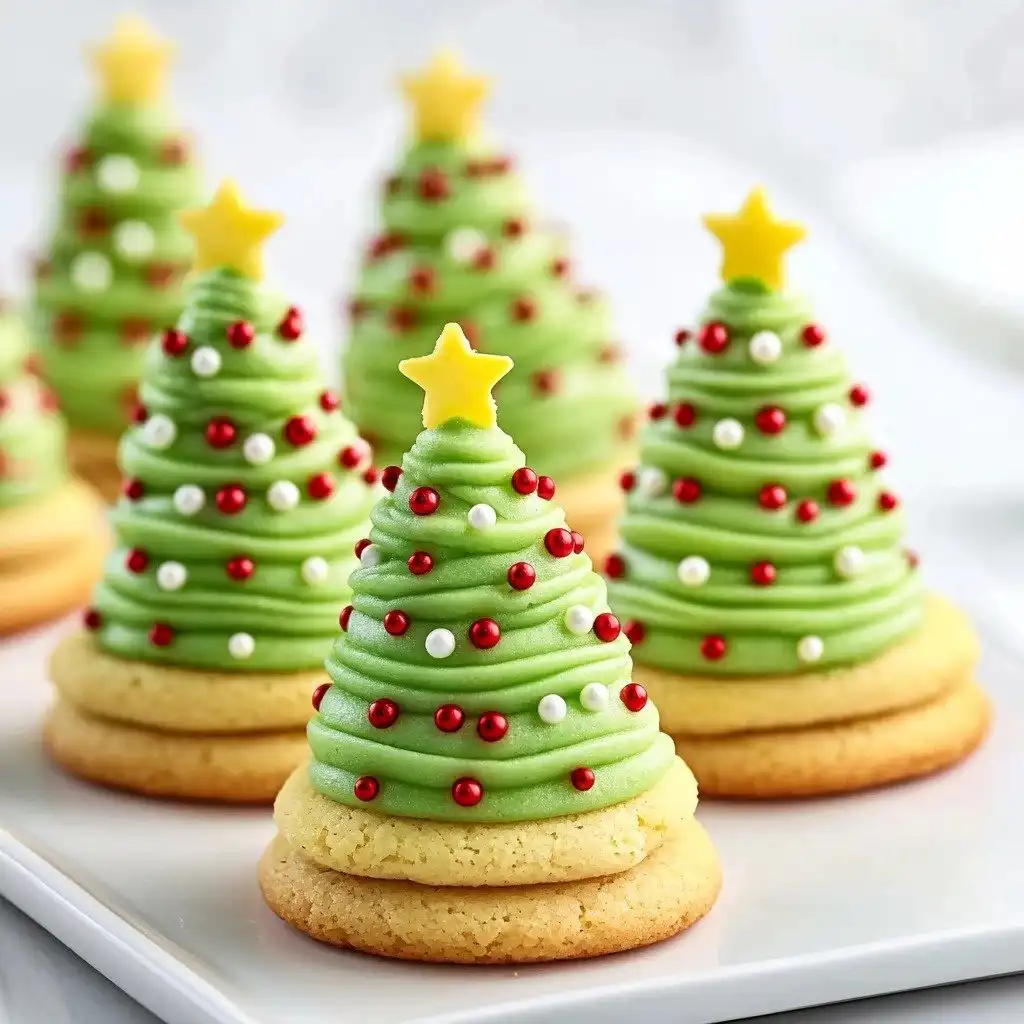
Why You’ll Love This Stacked Sugar Cookie Christmas Trees
- These cookies are incredibly soft and buttery, with that classic sugar cookie flavor everyone adores.
- The recipe is straightforward, even if you’re new to baking, and the stacking part is so much fun.
- They look absolutely festive and impressive, making them perfect for holiday parties or gifting.
- You get to play with sprinkles and make each tree your own little masterpiece!
Ingredients You’ll Need
- All-purpose flour: This is our base for a sturdy yet tender cookie. Don’t substitute with self-rising flour, as it contains leavening agents we’re adding separately.
- Baking soda and baking powder: These work together to give our cookies a perfect lift without making them too cakey.
- Unsalted butter: Always use unsalted butter so you can control the salt content in your baking. Make sure it’s at room temperature for easy creaming.
- Granulated sugar and light brown sugar: The combination gives these cookies a lovely sweetness and a hint of chewiness from the brown sugar.
- Large egg: Acts as a binder and adds richness.
- Vanilla extract: Essential for that classic, warm sugar cookie flavor. Use pure vanilla for the best taste!
- Powdered sugar: Also known as confectioners’ sugar, it’s key for a smooth, lump-free buttercream.
- Water or milk: Just a little liquid helps achieve the perfect consistency for your buttercream.
- Green gel icing color: Gel colors are concentrated, so you’ll get vibrant green without thinning out your frosting.
- Red and white pearl sprinkles & yellow star sprinkles: These are for decorating your trees, making them extra festive!
How to Make Stacked Sugar Cookie Christmas Trees Step by Step
First things first, let’s get our oven ready! Preheat it to 350°F (180°C), and make sure your baking sheets are lined with parchment paper or silicone mats. This helps prevent sticking and makes cleanup a breeze. In a medium bowl, whisk together your dry ingredients: the flour, baking soda, baking powder, and salt. Set that aside for a moment.
Now for the fun part: creaming the butter and sugars! In a large mixer bowl, beat your room temperature butter with both granulated and light brown sugars until the mixture is light in color and super fluffy. You’ll really see it transform! Next, beat in the egg until it’s fully combined, then add the vanilla extract and mix again. This is where the flavors really start to come alive.
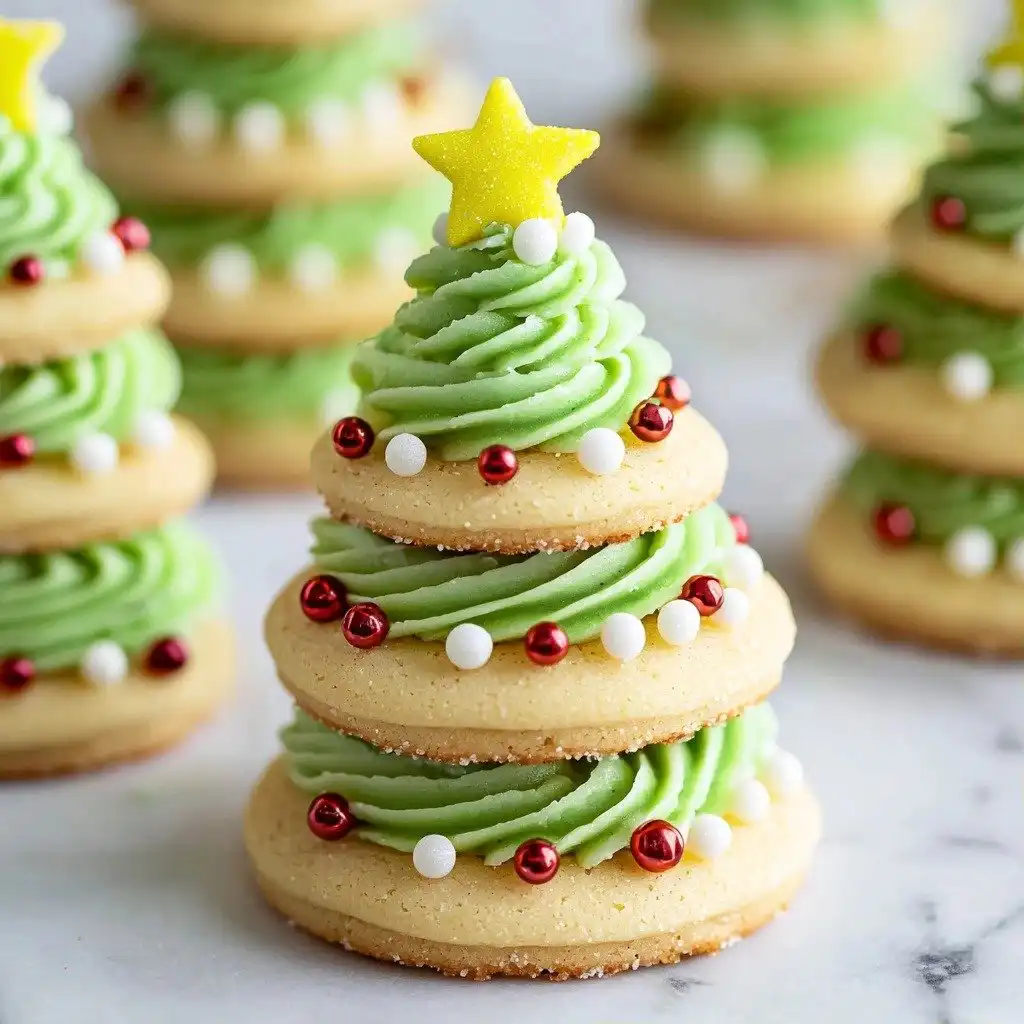
Finally, gradually add your dry ingredient mixture to the wet ingredients. Mix just until the dough comes together and is well combined, but be careful not to overmix! It should be thick and not sticky. If it looks a little crumbly, just use a rubber spatula to gently bring it together into a cohesive ball. Now, for the tree shapes, we’re going to make three different sizes of cookie dough balls: 1 teaspoon, 2 teaspoons, and 3 teaspoons. You want an even number of each size so you can build lots of trees. Bake them according to their size – the large ones for 7-8 minutes, medium for 6-7 minutes, and small for 5-6 minutes. Let them cool on the baking sheet for a few minutes before moving them to a wire rack to cool completely. While they’re cooling, whip up that delicious vanilla buttercream! Beat the butter until smooth, then gradually add the powdered sugar, vanilla, and water or milk until it’s all smooth and creamy. Stir in your green gel icing color until you get that perfect Christmas tree green. Once your cookies are cool, grab one of each size, pipe a swirl of frosting onto the largest cookie, layer the medium one on top, then the smallest. Pipe a swirl on top and decorate with your festive sprinkles! Don’t worry if your piping isn’t perfect; handmade cookies are the best kind.
My Top Tips for Success
- I always make sure my butter is truly at room temperature for the best cookie dough and buttercream. It creams so much better!
- In my experience, measuring flour by weight (grams) is far more accurate than by volume, leading to consistently perfect cookies.
- Trust me on this one: don’t overmix your cookie dough. Overmixing can lead to tough cookies, and we want soft, tender ones!
- When baking, keep an eye on the cookies! Oven temperatures can vary, so pull them out as soon as the edges are lightly golden.
- For vibrant green frosting, use gel icing color. A little goes a long way, and it won’t thin out your buttercream like liquid colors can.
Common Mistakes to Avoid
- Overmixing the dough: This develops too much gluten, resulting in tough, chewy cookies instead of soft ones. Mix just until combined.
- Not chilling the dough: While this recipe doesn’t explicitly call for chilling, if your dough feels too soft to roll into balls, a quick 15-20 minutes in the fridge can make it much easier to handle and prevent spreading.
- Baking all cookie sizes for the same time: Smaller cookies cook faster than larger ones. Baking them all for the same duration will lead to burnt small cookies or underbaked large ones.
- Overbaking the cookies: Cookies will continue to cook slightly after they’re removed from the oven. Pull them out when the edges are just set and lightly golden, even if the centers look a little soft.
- Under-whipping the buttercream: If your butter isn’t beaten enough or the powdered sugar isn’t fully incorporated, your frosting might be lumpy or not fluffy enough to pipe nicely.
How to Store Stacked Sugar Cookie Christmas Trees
- Countertop: Store in an airtight container at room temperature for 3-4 days.
- Refrigerator: Not recommended as it can dry out the cookies.
- Freezer (unfrosted cookies): Place cooled, unfrosted cookies in an airtight container or freezer bag for up to 3 months. Thaw at room temperature before frosting.
- Freezer (frosted cookies): Not ideal, as frosting can weep or change texture upon thawing. Best to freeze unfrosted cookies and decorate fresh.
Frequently Asked Questions
Can I make these cookies ahead of time?
Absolutely! You can bake the cookies a day or two in advance and store them in an airtight container. Make the buttercream fresh on the day you plan to assemble and decorate.
What if my buttercream is too thick or too thin?
If it’s too thick, add more water or milk a teaspoon at a time until it reaches the desired consistency. If it’s too thin, add more powdered sugar a tablespoon at a time until it thickens up.
Can I use different cookie cutters instead of balls?
While the recipe is designed for stacked balls to create the tree shape, you could use different sized star cookie cutters! Just make sure they are graduated in size for stacking.
How do I get my green frosting to be a vibrant color?
Use gel icing color! It’s much more concentrated than liquid food coloring and won’t thin out your frosting. Start with a small amount and add more until you reach your desired shade.
Can I use a different flavor of extract?
Yes, you can! Almond extract would be lovely for a slightly different flavor profile, or even a touch of peppermint for a really festive twist. Just be sure to use the same quantity.
I hope these Stacked Sugar Cookie Christmas Trees bring as much joy and festive cheer to your kitchen as they do to mine. They’re truly a labor of love, and so worth the effort for those happy holiday smiles. If you make them, I’d absolutely love to hear how they turned out!
PrintStacked Sugar Cookie Christmas Trees
Adorable and delicious sugar cookies stacked with creamy green buttercream to create festive Christmas trees, perfect for holiday celebrations.
- Prep Time: 30
- Cook Time: 8
- Total Time: 90
- Yield: 8-9 trees (24-27 cookies)
- Category: Dessert
- Method: Baking
- Cuisine: American
Ingredients
- 2 3/4 cups (358g) all-purpose flour
- 1 tsp baking soda
- 1/2 tsp baking powder
- 1/2 tsp salt
- 1 cup (224g) unsalted butter, room temperature
- 1 cup + 2 tbsp (233g) granulated sugar
- 2 tbsp (28g) light brown sugar
- 1 large egg
- 2 tsp vanilla extract
- 1 cup (224g) unsalted butter, room temperature
- 4 cups (460g) powdered sugar
- 1 tsp vanilla extract
- Pinch of salt
- 2-3 tbsp water or milk
- Green gel icing color
- 2-3 tbsp red and white pearl sprinkles
- 16-18 yellow star sprinkles
Instructions
- Preheat oven to 350°F (180°C).
- Line baking sheets with parchment paper or silicone baking mats.
- Set aside the prepared baking sheets.
- Combine the flour, baking soda, baking powder, and salt in a medium-sized bowl.
- Set aside the dry ingredient mixture.
- Cream the 1 cup butter and granulated and light brown sugars together in a large mixer bowl on medium speed until light in color and fluffy.
- Add the egg to the creamed mixture.
- Mix until the egg is well combined.
- Add the 2 tsp vanilla extract.
- Mix until the vanilla extract is well combined.
- Gradually add the dry ingredients to the wet ingredients.
- Mix until the dough is well combined and thick, but do not overmix.
- Use a rubber spatula to help the dough come together into a cohesive ball.
- Make 1 teaspoon-sized balls of cookie dough.
- Make 2 teaspoon-sized balls of cookie dough.
- Make 3 teaspoon-sized balls of cookie dough.
- Ensure you have an even number of each size cookie dough ball.
- Bake the large cookies for 7-8 minutes.
- Bake the medium-sized cookies for 6-7 minutes.
- Bake the small cookies for 5-6 minutes.
- Remove cookies from the oven when done.
- Allow cookies to cool on the baking sheet for 2-3 minutes.
- Move cookies to a cookie rack to finish cooling completely.
- To make the frosting, beat the remaining 1 cup butter until smooth.
- Add half of the powdered sugar to the beaten butter.
- Mix until smooth.
- Add the remaining 1 tsp vanilla extract and 2 tablespoons of water or milk.
- Mix until smooth.
- Add the remaining powdered sugar.
- Mix until smooth.
- Add green gel icing color to the frosting.
- Mix until you have your desired shade of green.
- To assemble, select one of each of the three cookie sizes.
- Fit a piping bag with a medium-sized star piping tip (like Wilton 21).
- Fill the piping bag with the green frosting.
- Pipe a swirl of frosting onto the largest cookie.
- Add the second medium-sized cookie on top of the frosting.
- Pipe a swirl of frosting onto the medium cookie.
- Top with the third and smallest cookie.
- Decorate with a yellow star sprinkle on top.
- Decorate with red and white pearl sprinkles as 'ornaments'.
- Store cookies in an airtight container.
Notes
Ensure butter is at room temperature for easy creaming and a smooth dough.
Do not overmix the cookie dough; mix just until combined to keep cookies tender.
Bake cookies according to their size to prevent over or under-baking.
Use gel food coloring for vibrant green frosting without thinning it out.


