
You know, life gets crazy sometimes! Between work, family, and trying to squeeze in a workout, it feels like there’s never enough time for a healthy snack. That’s exactly why I fell in love with these No-Bake Peanut Butter Protein Bars. They’re my go-to when I need a quick energy boost without any fuss. Seriously, they taste like a treat but fuel you like a champ!
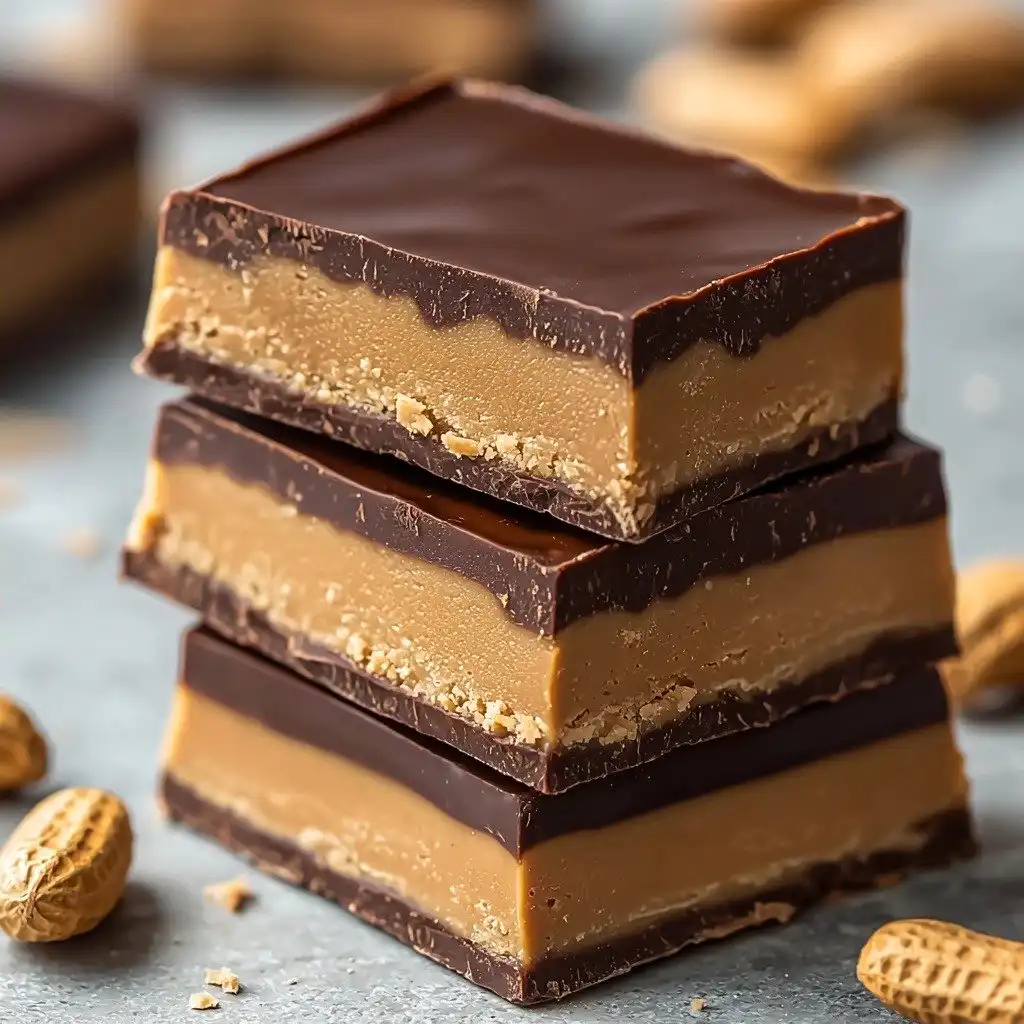
Why You’ll Love This No-Bake Peanut Butter Protein Bars
- They’re ridiculously easy to make – no baking involved, just mixing and chilling!
- The texture is amazing: chewy, satisfying, and that perfect balance of sweet and savory.
- Packed with protein, they keep you full and energized throughout the day.
- You can customize them with your favorite protein powder flavor for endless deliciousness.
Ingredients You’ll Need
- Creamy no-stir peanut butter: This is the star! Make sure it’s “no-stir” so your bars aren’t too oily and hold together perfectly.
- Protein powder (vanilla or chocolate): This boosts the protein content and adds flavor. Vanilla is classic, but chocolate makes them extra decadent!
- Honey or maple syrup: This adds sweetness and helps bind everything together. Use whichever you prefer!
- Rolled oats: These add chewiness and fiber. Don’t use instant oats here, as they’ll change the texture.
- Dark chocolate chips: For that irresistible chocolate topping. Feel free to use your favorite kind!
- Sea salt (optional): A little sprinkle on top really enhances the chocolate and peanut butter flavors. Trust me on this one!
How to Make No-Bake Peanut Butter Protein Bars Step by Step
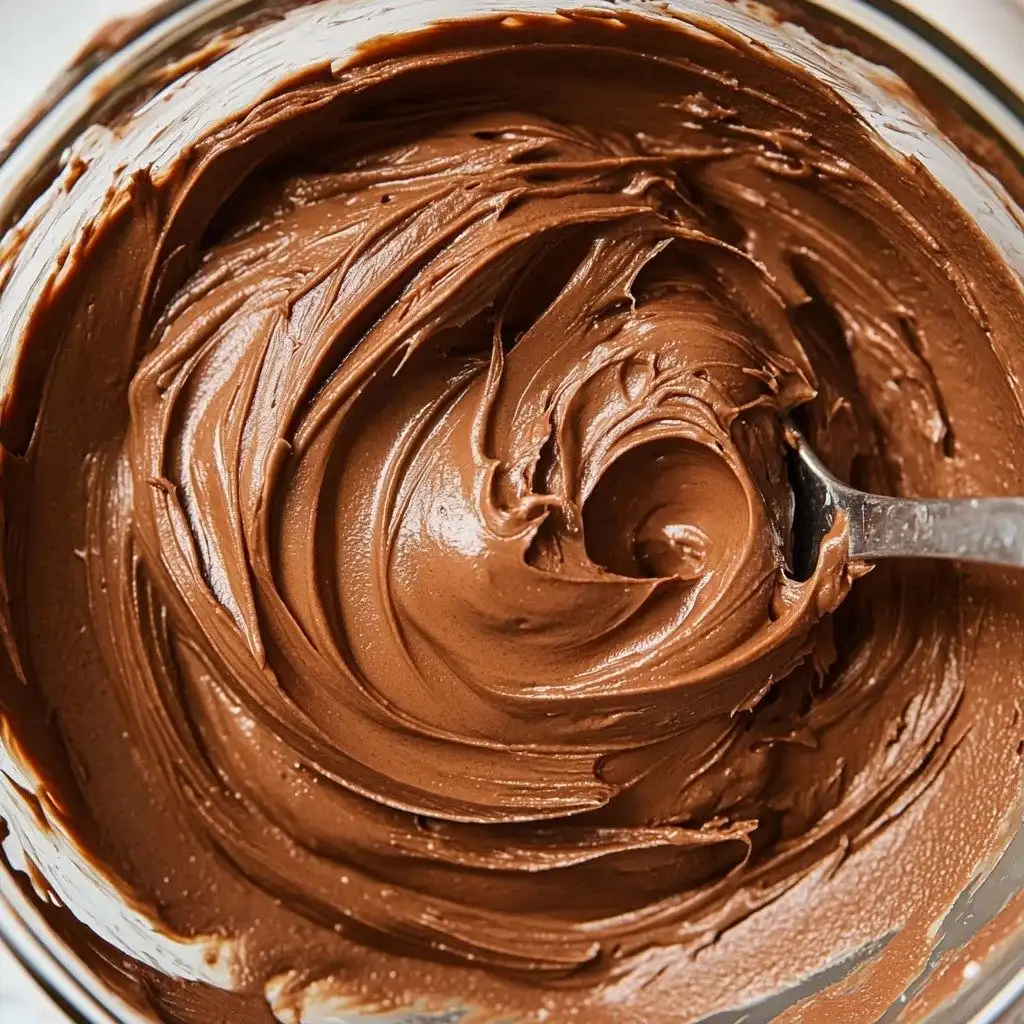
First things first, grab a big bowl. We’re going to make the peanut butter base. This is where the magic happens! You’ll combine your creamy peanut butter, protein powder, honey (or maple syrup), and rolled oats. Stir, stir, stir until everything is beautifully combined. It will be thick, don’t worry if it seems a bit stiff, that’s exactly what we want!
Next, get your 8×8-inch baking dish ready. Line it with parchment paper – this makes lifting the bars out super easy later. Now, take that glorious peanut butter mixture and press it firmly and evenly into the bottom of the dish. Use the back of a spoon or your hands to get it nice and flat from edge to edge.
Now for the chocolate! Place your dark chocolate chips in a microwave-safe bowl. Heat them in 30-second bursts, stirring well after each one. Keep doing this until the chocolate is smooth and glossy. Pour this melted chocolate right over your peanut butter layer and spread it out evenly with a spatula. If you’re using sea salt, sprinkle it on now before the chocolate sets. Pop the whole dish into the fridge for at least 1 hour. This chilling time is crucial for the chocolate to set and the bars to firm up perfectly.
My Top Tips for Success
- I always use parchment paper with an overhang – it makes removing the entire slab of bars so much easier for slicing!
- In my experience, using a “no-stir” peanut butter is key for the best texture; natural peanut butter can be too oily.
- Don’t rush the chilling time. Trust me on this one, an hour is the minimum for firm, easy-to-slice bars.
- For clean slices, I always warm my knife slightly under hot water and wipe it clean between cuts.
- If your peanut butter mixture is too sticky, try chilling it for 10-15 minutes before pressing it into the pan.
Common Mistakes to Avoid
- Using instant oats instead of rolled oats: This will result in a much softer, almost mushy texture. Rolled oats give the bars their chewiness.
- Not lining the pan: You’ll have a hard time getting the bars out cleanly. Parchment paper is your best friend here!
- Overheating the chocolate: If you microwave the chocolate for too long or at too high a power, it can seize and become lumpy. Short bursts and stirring are key.
- Not chilling long enough: The bars will be too soft to slice cleanly, and the chocolate topping might still be gooey. Patience pays off!
- Using very runny honey or syrup: This can make your mixture too wet. If it feels too wet, add a tiny bit more protein powder or oats.
How to Store No-Bake Peanut Butter Protein Bars
- Refrigerator: Store in an airtight container in the fridge for up to 1 week.
- Freezer: For longer storage, freeze individual bars wrapped in plastic wrap, then place them in an airtight freezer-safe bag or container for up to 3 months. Thaw in the fridge or at room temperature.
Frequently Asked Questions
Can I use a different type of nut butter?
Yes, you can! Almond butter or cashew butter would also work well. Just make sure it’s a creamy, no-stir variety for the best consistency.
What if my protein powder makes the mixture too dry?
Different protein powders absorb liquid differently. If your mixture seems too dry, add a tiny bit more honey or peanut butter, a teaspoon at a time, until it comes together.
Can I make these vegan?
Absolutely! Use maple syrup instead of honey, and ensure your protein powder and dark chocolate chips are vegan-friendly.
How many bars does this recipe make?
This recipe typically yields 12-16 bars, depending on how large you slice them. An 8×8-inch pan is perfect for this quantity.
Can I add other mix-ins to the base?
You sure can! A few tablespoons of shredded coconut, chopped nuts, or even a dash of cinnamon would be delicious. Just don’t add too much, or the mixture might become crumbly.
I genuinely hope these No-Bake Peanut Butter Protein Bars become a staple in your kitchen too! They’re such a simple, satisfying way to stay fueled and happy. Give them a try, and let me know how they turn out – I’d love to hear about your creations!
PrintNo-Bake Peanut Butter Protein Bars
Easy-to-make, satisfying, and protein-packed bars with a delicious peanut butter base and a rich chocolate topping.
- Prep Time: 15
- Total Time: 75
- Yield: 12-16 bars
- Category: Snack
- Method: No-Bake
- Cuisine: American
- Diet: Vegetarian
Ingredients
- 1 ½ cups creamy no-stir peanut butter
- ¾ cup protein powder (vanilla or chocolate)
- ¼ cup honey or maple syrup
- 1 cup rolled oats
- ¼ cup dark chocolate chips
- Optional: Sea salt for topping
Instructions
- In a large bowl, combine the peanut butter, protein powder, honey (or maple syrup), and oats.
- Stir the mixture until everything is well combined and holds together easily.
- Line an 8×8-inch baking dish with parchment paper.
- Press the peanut butter mixture evenly into the bottom of the prepared dish.
- In a microwave-safe bowl, melt the dark chocolate chips in 30-second increments.
- Stir the chocolate after each increment until it is smooth.
- Pour the melted chocolate over the peanut butter layer.
- Spread the chocolate evenly with a spatula.
- If desired, sprinkle sea salt over the chocolate topping.
- Place the dish in the fridge for at least 1 hour to allow the chocolate to set and the bars to firm up.
- Once the chocolate is completely set, slice the bars into 12-16 pieces.
- Serve immediately or store for later.
Notes
Use ‘no-stir’ peanut butter for the best consistency.
Don’t skimp on the chilling time; it’s essential for firm bars.
Warm your knife for cleaner slices through the chocolate.
Store bars in the fridge to maintain their texture.


