
There’s something so comforting about a recipe passed down through generations, isn’t there? For me, it’s this amazing Granny’s Bread and Butter Pickles Recipe. It takes me right back to my grandmother’s kitchen, where every summer, jars of these sweet and tangy pickles would line the counter, filling the air with their irresistible aroma. Making them now feels like a little hug from her, and I just know you’ll love them too!
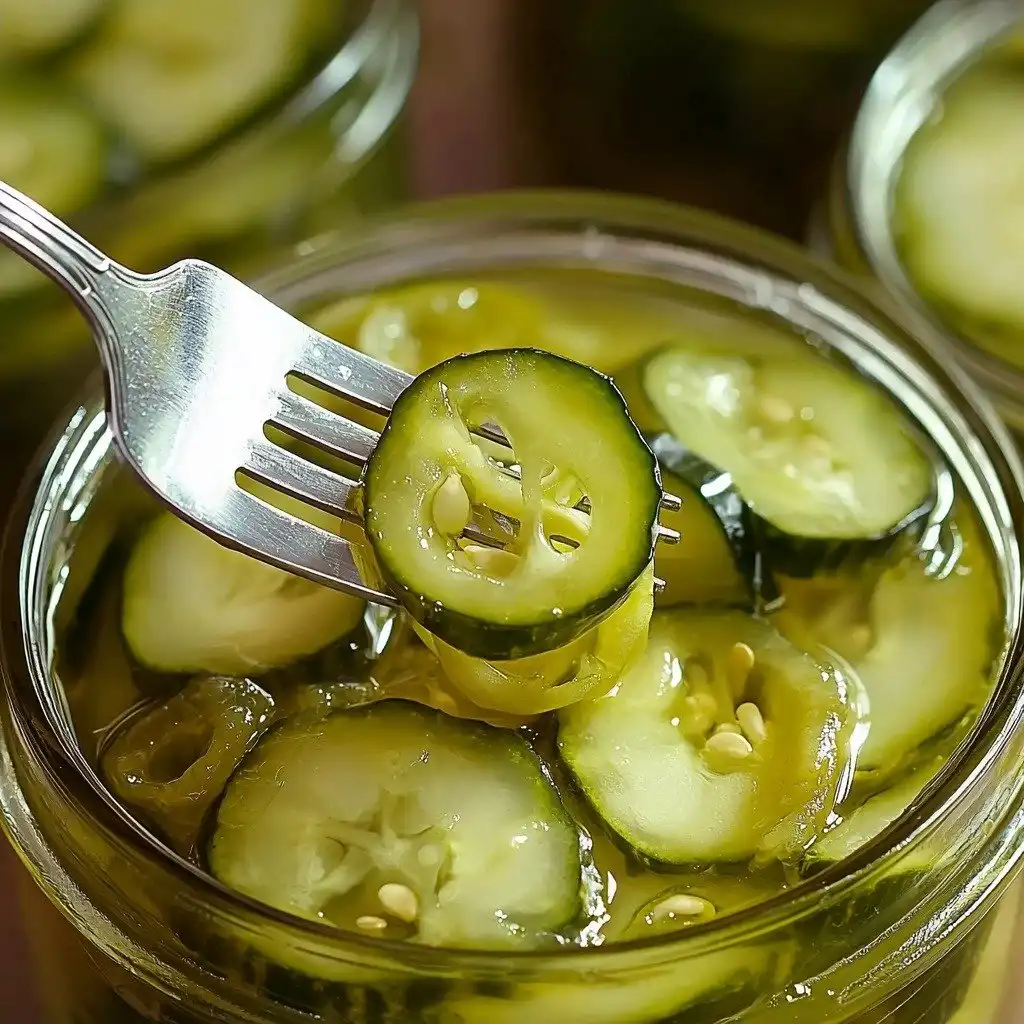
Why You’ll Love This Granny’s Bread and Butter Pickles Recipe
- These pickles have the perfect balance of sweet and tangy, with a lovely crunch.
- The recipe uses simple, fresh ingredients you can easily find.
- It’s a fantastic way to preserve summer’s bounty and enjoy it all year long.
- Perfect for beginners! I’ll walk you through each step for canning success.
Ingredients You’ll Need
- Cucumbers, Onion, Garlic: These are the stars of the show! Use fresh, firm cucumbers. Any variety works, but pickling cucumbers are ideal.
- Canning Salt: This is crucial! Don’t substitute with table salt, which contains anti-caking agents that can make your brine cloudy.
- White Vinegar (5% acidity) & Apple Cider Vinegar (5% acidity): The combination gives these pickles their signature tang and depth of flavor. Make sure both are at least 5% acidity for safe canning.
- Sugar: Balances the tartness of the vinegar and creates that classic bread and butter pickle sweetness.
- Yellow Mustard Seed, Celery Seed, Ground Turmeric: These spices are what make bread and butter pickles so distinct! Turmeric also gives them that beautiful golden color.
How to Make Granny’s Bread and Butter Pickles Recipe Step by Step
First things first, let’s get those veggies ready! You’ll start by slicing your cucumbers and onions. Don’t worry about getting them perfectly uniform, just aim for consistent thickness. Peel your garlic, too. Then, combine all these lovely fresh ingredients in a big bowl. This is where the magic starts to happen!
Now, sprinkle your canning salt over the veggies. This step is super important because the salt will draw out excess water, ensuring your pickles stay nice and crisp. Cover the bowl with a clean towel and, trust me on this, put some ice right on top of that towel. Let it all sit for about three hours. While your veggies are chilling, you can get your canning equipment ready. Wash your jars, bands, and lids, and get your water bath canner simmering with hot water. You want that water around 180°F to keep your jars hot.
After three hours, drain off all that salty water from your cucumbers and give them a good rinse with fresh water. Then, in a large stockpot, you’ll make your brine. Combine both vinegars, sugar, mustard seed, celery seed, and turmeric. Bring this mixture to a boil. Once it’s boiling, add your rinsed cucumbers, onions, and garlic to the pot. Bring it back to a boil and let it cook for just 90 seconds. This is a quick hot pack!
Now for the canning! Carefully remove a hot jar from your canner, pouring the water back in. Fill the jar loosely with your pickle mixture, making sure to leave about a 1/2-inch headspace at the top. Use a bubble removal tool or a spatula to get rid of any air bubbles and ensure all your solids are submerged in the brine. Recheck that headspace and add more brine if needed. Wipe the rim clean, center your lid, and tighten the band fingertip tight. Place the filled jar back into the canner and repeat until all your pickles are jarred up!
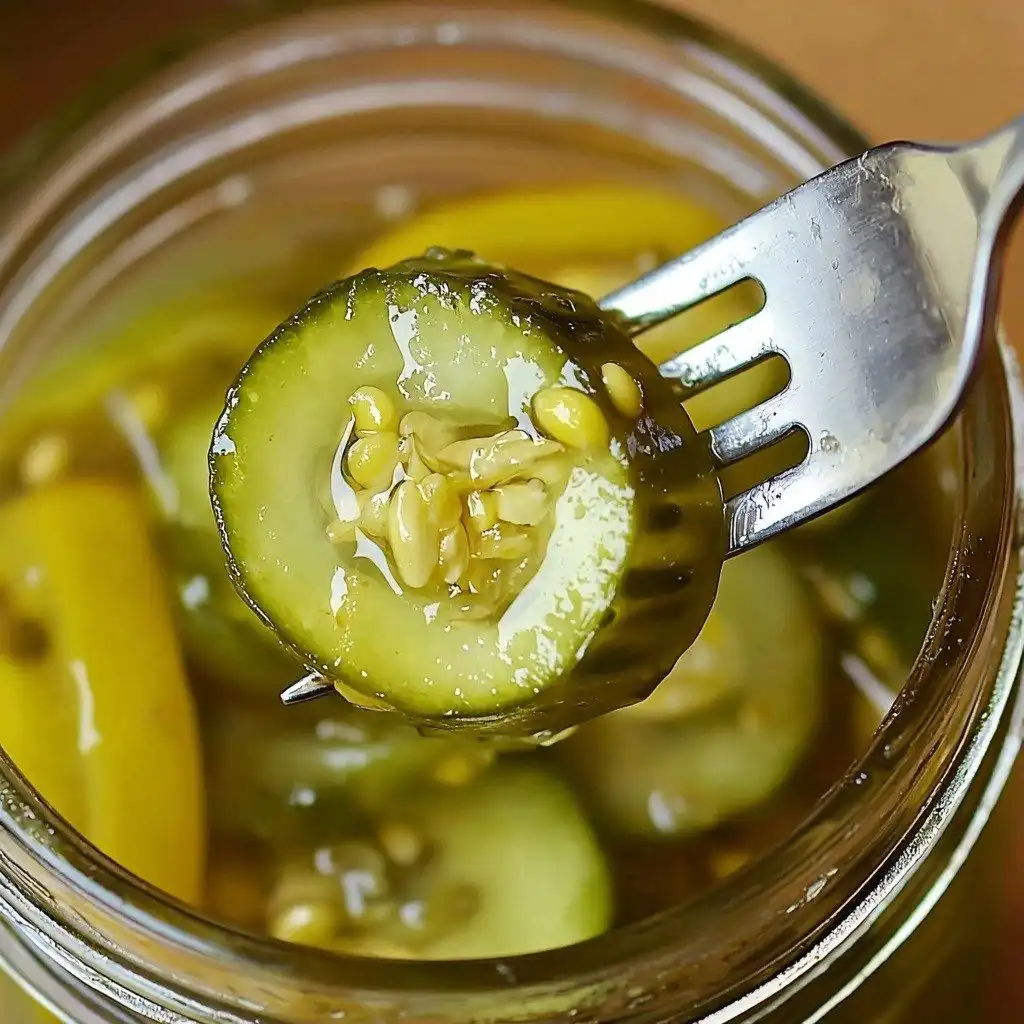
My Top Tips for Success
- I always use fresh, firm cucumbers. Limp cucumbers lead to limp pickles!
- In my experience, using a kitchen towel under your jars when filling helps prevent them from sliding around.
- Trust me on this one: don’t skip the ice on top of the towel. It really helps keep the vegetables crisp.
- Make sure your vinegar is 5% acidity for safe canning and proper pickling.
- Don’t overpack your jars. Leaving a little space allows the brine to circulate and the pickles to process properly.
- Wait! I know it’s hard, but letting the pickles sit for 4-5 weeks after canning really lets the flavors develop.
Common Mistakes to Avoid
- Not using canning salt: Regular table salt contains additives that can make your brine cloudy and affect the texture. Use canning salt for clear, crisp pickles.
- Not rinsing the vegetables after salting: This will make your pickles too salty. A good rinse removes excess salt.
- Overfilling the jars: Leaving too little headspace can prevent a proper seal. Aim for that 1/2-inch.
- Not removing air bubbles: Air bubbles trapped in the jar can lead to spoilage. Gently remove them with a tool.
- Tightening bands too much before processing: Bands should be “fingertip tight” – snug, but not overly tight. This allows air to escape during processing.
How to Store Granny’s Bread and Butter Pickles Recipe
- Pantry: Store sealed, labeled jars in a cool, dry, dark place for up to 1 year.
- Refrigerator (unsealed/opened): If a jar doesn’t seal, or once opened, store in the refrigerator for 2-3 months.
Frequently Asked Questions
Can I use different types of cucumbers?
Yes, you can! While pickling cucumbers are ideal for their crispness, any fresh, firm cucumber will work. Just make sure they are not too large or seedy.
What if my jars don’t seal?
If a jar doesn’t seal, don’t worry! Simply place it in the refrigerator and enjoy those pickles first. They will still be delicious, just not shelf-stable.
Do I need a water bath canner?
For this recipe, yes, a water bath canner is necessary for safe processing and shelf-stable pickles. It ensures the jars reach the proper temperature to kill bacteria.
Can I reduce the sugar?
I wouldn’t recommend significantly reducing the sugar in this specific recipe. The sugar plays a role in the flavor balance and texture of these bread and butter pickles.
How long do I need to wait before eating these pickles?
You can certainly eat them right away, but for the best flavor development, I recommend waiting 4-5 weeks. This allows the spices and brine to fully meld with the pickles.
I hope you try this Granny’s Bread and Butter Pickles Recipe and fall in love with it just like I have! There’s nothing quite like the taste of homemade, and these pickles are truly a labor of love. If you make them, please let me know how they turn out!
PrintGranny’s Bread and Butter Pickles Recipe
A classic, sweet and tangy bread and butter pickle recipe, perfect for preserving garden cucumbers.
- Prep Time: 15
- Cook Time: 15
- Total Time: 210
- Yield: approx. 6-8 pint jars
- Category: Preserving
- Method: Canning
- Cuisine: American
- Diet: Vegetarian
Ingredients
- 2 ½ pounds Cucumbers
- 1 pound Onion
- 1 Head of Garlic
- ¼ cup Canning Salt
- 1 ¼ cup White Vinegar 5% acidity
- 1 cup Apple Cider Vinegar 5% acidity
- 2 ¼ cups Sugar
- 1 Tablespoon Yellow Mustard Seed
- ¾ teaspoon Celery Seed
- ½ teaspoon Ground Turmeric
Instructions
- Slice the cucumbers and onions.
- Peel the garlic.
- Combine sliced cucumbers, onions, and peeled garlic in a large bowl.
- Sprinkle canning salt over the vegetables.
- Cover the bowl with a clean towel.
- Place ice on the towel.
- Let the mixture sit for about 3 hours.
- Wash the water bath canner and fill it halfway with clean water.
- Place the rack in the canner.
- Put the canner on the stove.
- Wash pint jars, bands, and lids in hot, soapy water and rinse well.
- Inspect jars for any nicks or cracks.
- Set lids and bands aside.
- Place clean jars in the water bath canner.
- Heat over medium heat, allowing jars to simmer at about 180℉ to keep them hot.
- In a large stockpot, combine white vinegar, apple cider vinegar, sugar, yellow mustard seed, celery seed, and ground turmeric to make the brine.
- Bring the brine mixture to a boil.
- Pour off the salted water from the cucumbers, onions, and garlic.
- Rinse the vegetables thoroughly with fresh water.
- Add the rinsed vegetables to the boiling brine in the stockpot.
- Bring the mixture back to a boil for 90 seconds.
- Spread a kitchen towel on the counter.
- Using a jar lifter, carefully remove one hot jar from the canner.
- Pour the water from the jar back into the canner.
- Place the jar on the towel.
- Using a canning funnel, loosely fill the jar with cucumbers and onions.
- Ladle brine over the solids, leaving a 1/2-inch headspace.
- Use a bubble removal tool or silicone spatula to gently remove air bubbles from the jar.
- Ensure all solids are submerged under the brine.
- Remove any solids that won't stay under the brine.
- Recheck the headspace and add more brine if necessary to maintain 1/2-inch headspace.
- Wipe the jar rim with a clean, damp cloth to remove any residue.
- Center the lid on the jar.
- Tighten the band on the jar to fingertip tight.
- Using a jar lifter, place the filled jar back into the canner.
- Continue filling jars one at a time until all the mixture is used.
- Ensure the water in the canner is 2-inches above the tops of the jars; add more hot water if needed.
- Place the lid on the canner.
- Bring the canner to a full boil over high heat.
- Once boiling, process pint jars for 10 minutes.
- Adjust processing time for altitude if necessary.
- After 10 minutes, turn off the heat.
- Remove the lid from the canner, tilting it away from your face.
- Let the jars sit in the canner for 5 minutes as it cools.
- Spread a clean towel on the kitchen counter.
- Without tilting the jars, remove them from the canner with a jar lifter.
- Place the jars on the towel on the counter.
- Allow jars to cool undisturbed for 12-24 hours.
- Do not tighten bands or touch lids during cooling.
- Check seals by touching the top of the lid (no movement) or gently lifting the jar by the lid (if sealed, lid won't come off).
- Refrigerate any jars that did not seal correctly.
- Wipe sealed jars with a damp cloth to remove residue.
- Label the clean, sealed jars with contents and date.
- Store sealed jars in a cool, dry place.
Notes
Always use fresh, firm cucumbers for the best texture.
Ensure your vinegar is 5% acidity for safe canning.
Do not skip the rinsing step after salting the vegetables.
For best flavor, allow pickles to sit for 4-5 weeks after canning.


